

Applique - Interfacing Prep
by Karen Johnson
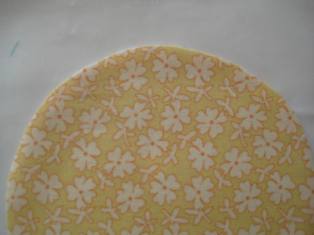
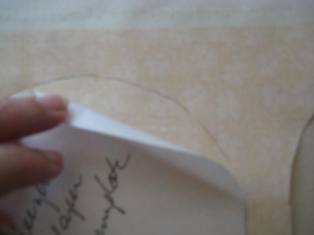
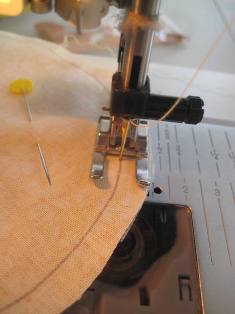
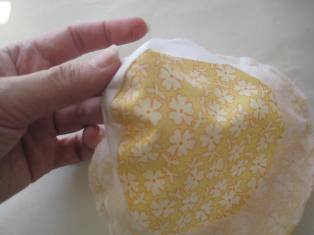
Why interfacing appliqué? This technique works really well for larger pieces that don't have sharp points or sharp "innies". If you prefer doing more of your prep at the sewing machine, this is for you! By using fusible interfacing, your finished piece will have a clean edge and will have some fusible built in to keep the piece in place for stitching. Here is what it will look just before you stitch it to your background.
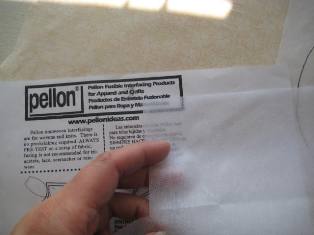
Ready? Find a lightweight interfacing. I like the fusible kind, but that's not required. See below, in the pressing section, for an explanation of the pros and cons of fusible or not. If you are using dark fabrics in your project, I recommend a dark interfacing - it's often available in black or gray as well as white.
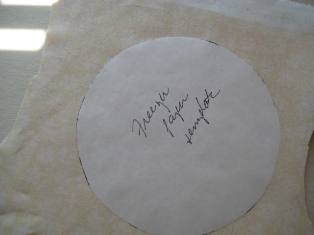
Trace a template of your pattern. I like freezer paper for my templates (see the Raw Edge prep segment for my freezer paper obsession), but you can use cardboard, regular paper, mylar, etc. Do not include any seam allowance on this template, just trace the finished edge of your appliqué piece. Use this template to draw the shape onto the wrong side of your fabric. Remove the freezer paper.
To save time, and to be sure both pieces are exactly the same size, you'll be cutting one shape from fabric and one from interfacing, all at once.
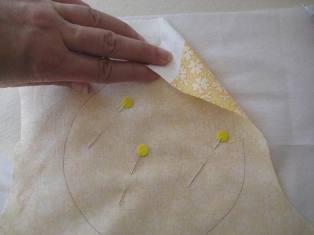
Lay the interfacing fusible side up, then lay the right side of the fabric on top.
Another way to say that: Pin the right side of the fabric to the fusible side of the interfacing.
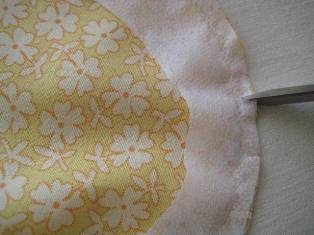
Cut both pieces 1/4" away from the drawn line.
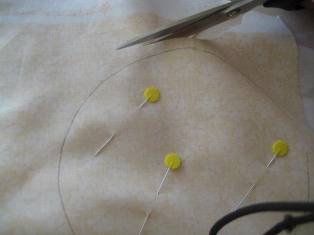
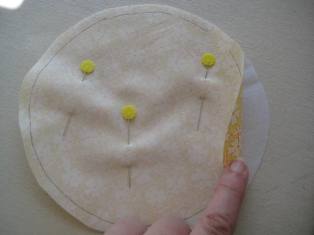
It will look like this. Keep the pins in place for now.
Time to stitch! Using matching thread and a straight stitch, stitch along the marked line, all the way around the piece. Go slowly and be sure you don't make any jagged stitches because this stitching will end up being your finished outer edge. The more accurate you are here, the cleaner your finished edge.
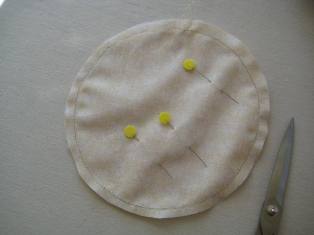
Remove the pins. You now have another choice. Most instructions tell you to cut out the excess interfacing at this point. If you leave the interfacing intact, you'll have slightly more bulk in your finished piece. If you remove the excess, as shown, you'll have less bulk and a softer finished piece. It's up to you!
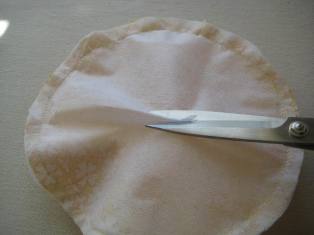
Carefully pull away the two layers and cut a slit in the interfacing. Don't cut the fabric! Use the slit to insert your scissors to cut away the excess interfacing. How much you leave of the interfacing is up to you. I left approx 1/2" from the stitch line.
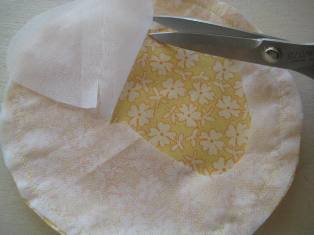
It will look like this. If this piece has curves, as ours does, clip all the curves. I also like to trim down the seam allowance a bit to futher reduce any bulk.

Gently begin to turn the piece inside out. Using your fingers, turn the interfacing so the raw seam is on the inside. Do not press yet!
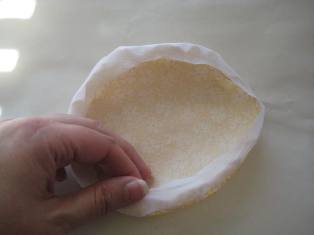
I used a bamboo tool to help push out the fabric to reduce the bulk. A chopstick will work, so do fingernails! Or use our Bamboo Stiletto. Again, don't press yet, even though it's very tempting! At this point it should look something like this (below, right photo). Most of the seam should be out, most of the interfacing should be in the back. Finger press if needed to get it as close as you can to finished without the hot iron.

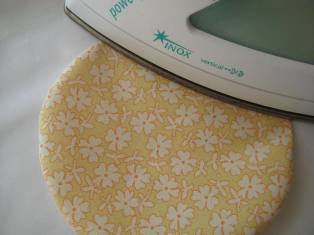
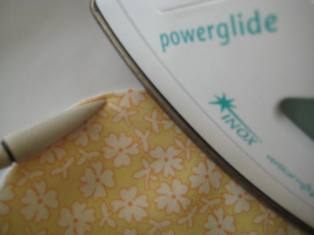
Now you are ready to press your piece. If you are using fusible interfacing, you will not be able to press from the back, and even from the front you need to be cautious not to allow the fusible to stick to your iron. But the advantage of fusible interfacing is that you will have a built in ability to hold your finished appliqué piece on the backing without moving while you stitch. If you have chosen fusible interfacing, I highly recommend using an appliqué Pressing Sheet for this step. See the video demo for how this works.
If you have chosen an interfacing without fusible, you are free to press from both sides. This will allow you more freedom in working out all the fabric from within the seams to get a perfect edge. But when you are ready to attach this piece to the background fabric, you'll have to pin, or glue or use some other method to keep it in place while you stitch.
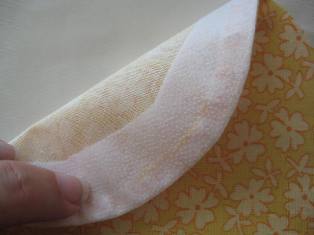
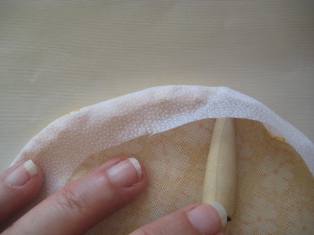
Here's the finished appliqué piece! A very nice clean edge that is ready to stitch in whatever manner you choose. Because the back now has fusible built in, you can place it on your background fabric and press into place. Once you've pressed though, it will no longer be repositionable, so be sure it's where you want it before you press.


