

Chain Piecing 101
by Melissa BurtOne of the first techniques every new quilter should learn (right after how to cut properly and how to sew a quarter inch seam) is chain piecing. Chain piecing is when you sew your pieces together with one continuous length of thread without stopping in between pieces.
Why should I chain piece?
This method of piecing is wonderful for many reasons, and its advantages include:
• Saving time. No need to constantly stop and start your machine.
• Saving thread. There is no thread waste between pieces.
• Saving headache. Does your seam ever bunch or pucker when you start to sew? Chain piecing eliminates that issue, and you only have to use a leader piece of fabric at the very beginning.
• Keeping you organized and consistent. You can keep your pieces in the right order very easily.
When can I chain piece?
Almost always! Chain piecing is ideal for when you are doing multiples of the exact same block, but it doesn’t have to be used only then. If you have multiple pieces to sew together at the same time, you can use this technique. It is the most useful for repetitive block piecing, however.
How do I chain piece?
Follow the easy steps below for chain piecing examples!
Step 1: Prep your pieces
Cut out all your block pieces (or at least the first group of them) and lay them out, so that you can visualize how the pieces fit together. Take the first two pieces of each block to be sewn, and place the pieces together in position right sides together. You can set them on a large ruler as you do this at your cutting table, and then carry the entire ruler over to your machine to keep them all neat and tidy.
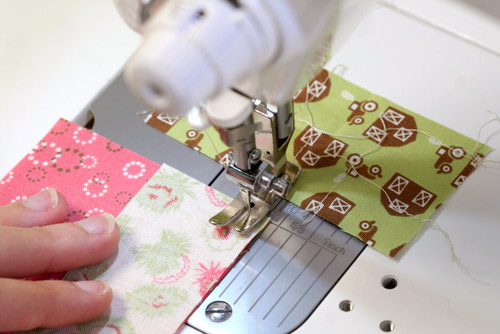
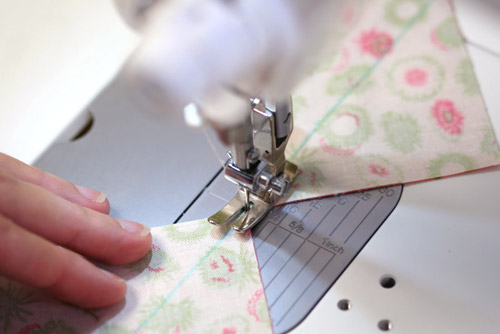
Step 2: Use a leader fabric.
A leader is a piece of scrap fabric that you sew on before starting your blocks. This will keep your first block from getting bunched at the edge of the seam. (Not all machines have this problem, so if yours doesn’t, you can skip this step.) Place the leader fabric under your presser foot and start sewing (the green farm print is my leader in the photos). When you get close to the edge, get your first block in position for sewing. Continue to sew off the edge of the leader until the feed dogs pick up your first block and feed it through. (No stopping is necessary, but you may wish to slow down to make sure you’ve got your quarter inch seam accurate.)
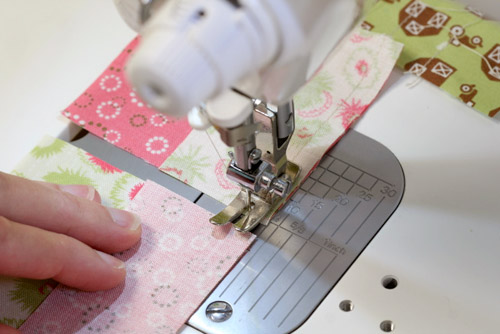
Step 3: Keep sewing!
Continue sewing your blocks in this manner without stopping or cutting the thread in between. You can butt the blocks right up to each other if you wish--there will be a natural gap that forms between each one because it takes several stitches for the feed dogs to pick up the next block. You can see that my leader is still attached at the beginning in the photo below.
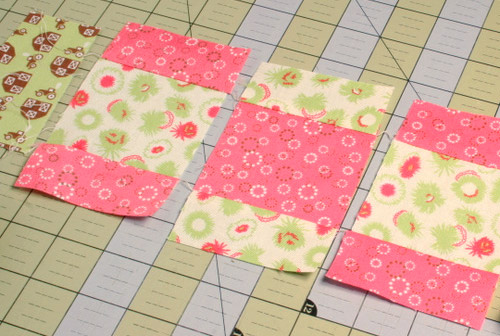
When all of your blocks have been sewn, you will have a neat row of blocks, like so, with a leader attached. You can snip off the leader and use it again for the next round. If these were Log Cabin blocks, you would stop at this point and iron them open. For other blocks, like Courthouse Steps, you can do the same process on the other side without stopping to iron first.
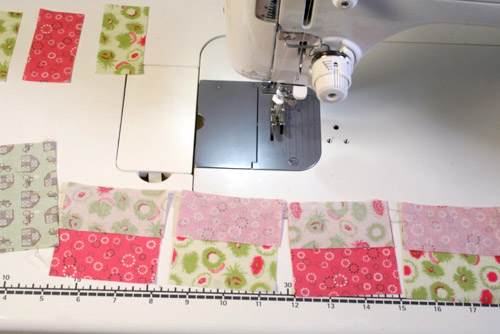
In the next photo, I am sewing strips on the opposite side of my squares. All of my blocks are still chain pieced together, and the chain piecing helps to keep them nice and tidy and in order.
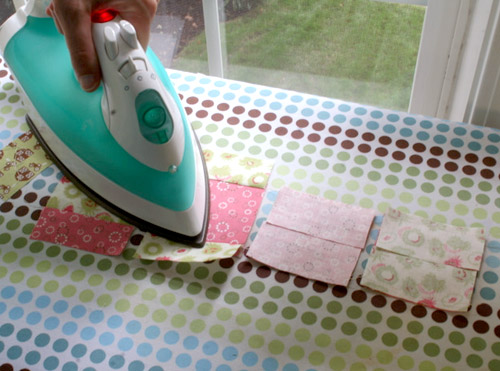
Step 4: Press seams
Once you’ve chain pieced as much as you can, it’s time to head to the iron. Don’t be too hasty to snip those threads though! Keep your pieces sewn together to make it easy to line them all up and press them.
Step 5: Trim
Take your chain pieced blocks to the cutting table and trim them up, shaving off any excess fabric and cutting the thread chains at the same time.
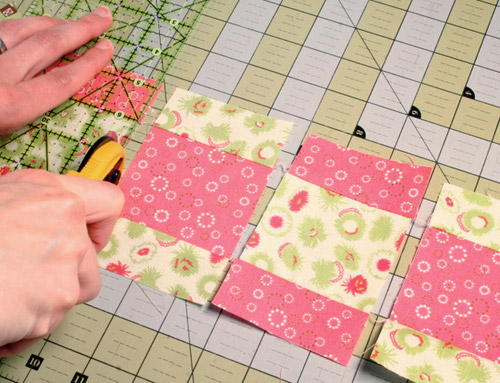
Voila! Blocks squared and chains snipped in one easy motion.
Chain piecing tips
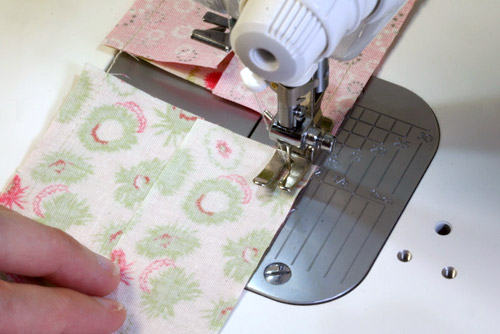
There are other time-saving uses for chain piecing, depending on what you are piecing. If you are sewing half square triangles, Snowballs, or Flying Geese using the basic method where you trim off the triangle corners, chain piecing is a huge time-saver.
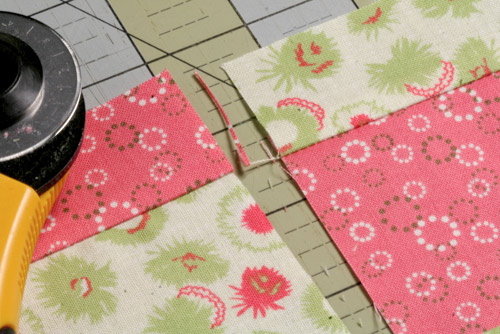
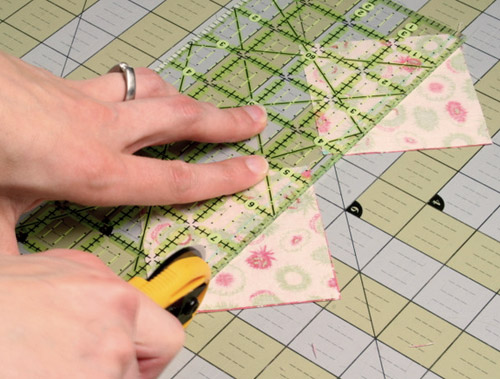
In this photo I am sewing two squares together on the diagonal line to form half square triangles using chain piecing.
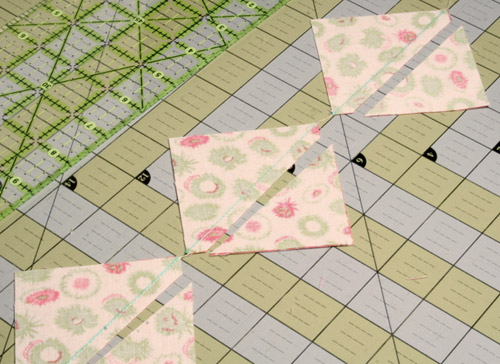
This time, I’m not going to press first, I’m going to trim first. I like to use the chain to help me straighten my squares all in a line on my cutting mat. Then I place my ruler so that the quarter inch line runs along my stitching line and trim all those triangles off at once.
Now the half square triangles are ready for pressing open, and I can snip the chains whenever I’m ready.
As you can see, chain piecing is such a fundamental and versatile technique that it adapts well to just about any situation.
One word of caution, however, before you start chain piecing up a storm: When sewing complicated blocks or those with very specific fabric placements, it is best to sew up one complete block first as a “road map”, so you know the block well and have it as a visual reference. Chain piecing can be very time saving, but it’s not time saving if you have to rip out a mistak


