

Flying Geese Inspiration
by Karen Johnson
If you like to design, or have thought about designing your own quilts, or you tend to modify every pattern you buy, then this is exactly the right place for you! We'll provide the finished block size we used and the quilt size to help you get your creative juices flowing! As an added bonus, each of these quilt layouts were designed in EQ6 (Electric Quilt, version 6). If you own EQ6, you can download our files here and modify them to your hearts content. We've left off outer border measurements below, because you'll want to do your own thing. Of course, we've shown most of them in Connecting Threads fabrics, but you can design your quilts in any fabric, including your stash.
Keep in mind these are not patterns, there are no instructions. This is for the adventurer within. If you prefer to only follow a specific pattern with instructions, this might not be for you and you could check out our kits with patterns.
Now, on to the inspiration!
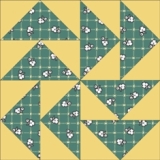
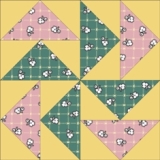
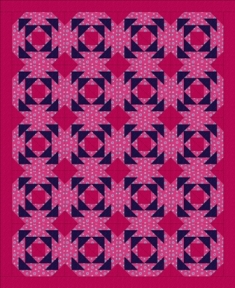
The Flying Dutchman block is comprised of 8 Flying Geese units, set in pairs each flying in a different direction. You can recolor the pairs, individually, or keep them all one color for a wide variety of looks!
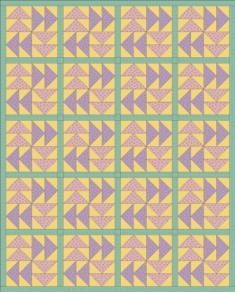
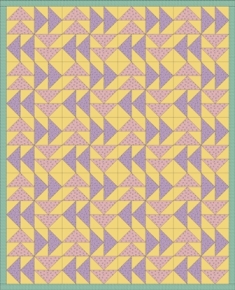
We've taken the Flying Dutchman block with three different layouts, but by adding sashing to each layout, find the results startling different.
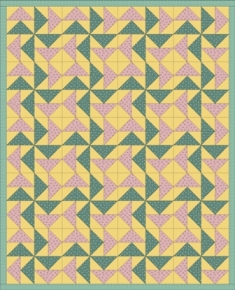
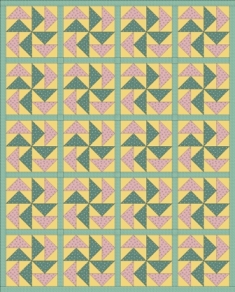
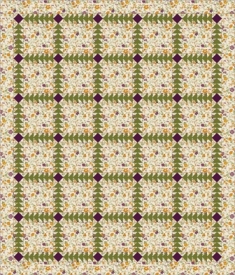
In this version, the sashing is the same color as the background so the blocks seem to float.
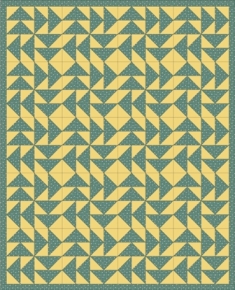

And just by adding black to the background, these bold colored solids really pop!
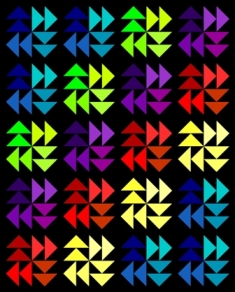
All of these Flying Dutchman layouts used 9" finished blocks, resulting in approx 38" x 47" (no sashing), and 41" x 51" (with sashing). Of course this will vary depending on your sashing and border widths. Audition your widths to decide what works best for your fabrics. Speed Strip Quilting for a Baby quilt.
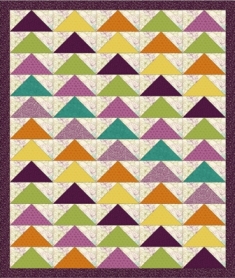
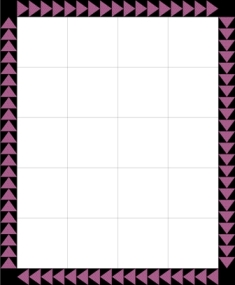
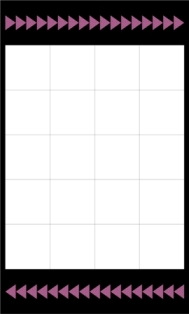
In this Strippy layout, we made the geese fly north in one version, and split the groups direction in the other. Both make for interesting movement. You can be scrappy like we did, or be very careful in your color placement to create a secondary design.
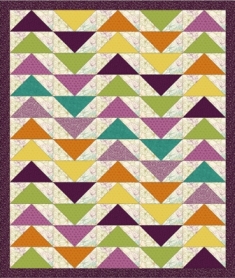
In this Strippy version, all we did was add a half plain block at the top and bottom of every other row, to make the geese asymmetrical. Again, we made one version all flying north and the other alternating direction every other row. In both examples we were more careful with color placement to get that secondary design.

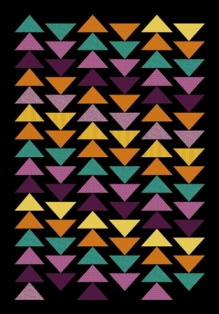
Each Flying Geese unit used here was 2 1/2" x 4 1/4" finished. Finished quilt is approx 31" x 44". Both are featured in Sweet & Sour, with black solid for the background in the second grouping.
In this quilt, we designed a whole new block, which could be built by starting with a Square in a Square, or making the center 2 Flying Geese - your choice.
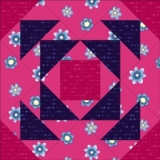
Featured in Antoinette. Finished block is 9" square. Approx 40" x 49".
Do you have a focal fabric that needs a nice setting? Flying Geese might be your answer! In this case we simply surrounded a plain square of fabric with Geese all around! On the left we used one color and on the right we made the geese scrappy and added a sashing.
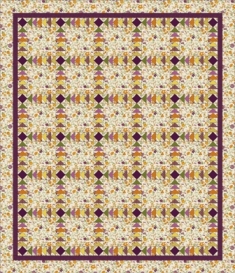
Featured in Sip of Summer. Focal block measures 9" finished. Each Flying Geese unit is 1 1/2" x 3" finished.
Karen's favorite way to use Flying Geese is in borders! There are so many ways to incorporate them, but here are two easy layouts. In the first, the geese are simply flying all around the center. In the second, they are only on the top and bottom, but with an extra row of solid above and below to let them float (or fly?). Nearly any size Flying Geese unit could work, depending on your center section.
Medallion settings are also a great place for Flying Geese. Here we placed them in several different areas of a Medallion setting so you can get ideas for direction. This is also fabulous if you're participating in a round robin exchange - what's easier than doing a Flying Geese round?!


