
Foundation Piecing - Muslin foundation
by Karen Johnson
Foundation Piecing on Muslin - Overview - This technique uses a muslin foundation that you sew directly on. The most common block styles are string quilts and crazy quilts and generally no pattern is required. I'll demonstrate both.
Pros
- No ripping out paper from the back of your block.
- Simple to learn, no complex rules.
- No marking, no templates
- Great for crazy quilting because the extra layer makes the block more sturdy to handle all those embellishments.
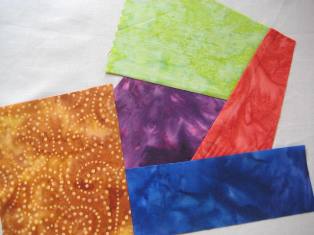
- Excellent way to use your scraps and odd size fabrics.
Cons
- It's a very free form style with no real patterns
- Finished blocks will be heavier because of the extra layer, so it's not recommended for hand quilting.
Note: If you don't want the extra layer of muslin, you can use paper for this same method, you'll just need to rip it off the back when you're done. However, for Crazy Quilting, the extra layer of muslin will help support all those heavy embellishments!
String Quilt Blocks with a muslin foundation
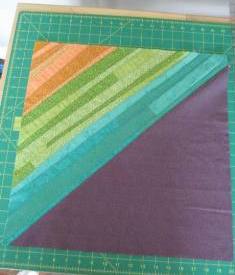
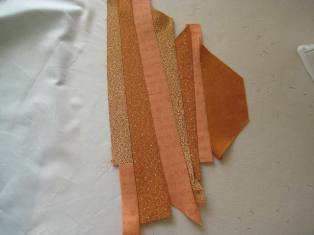
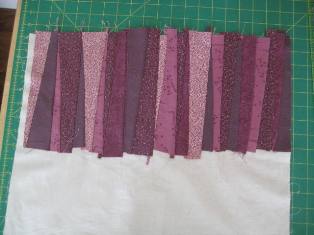
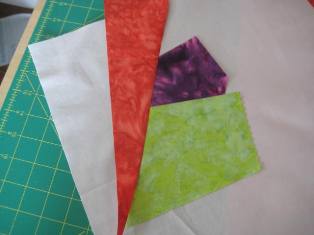
Here are two examples of blocks I made using the string piecing technique on muslin. As you can see, you can piece these in any direction, as thin or as wide as you like, and the block can be any size. It's a great way to use up scraps!
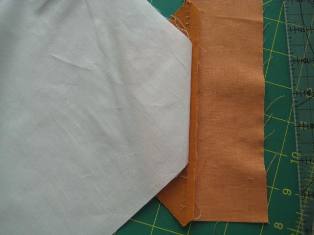
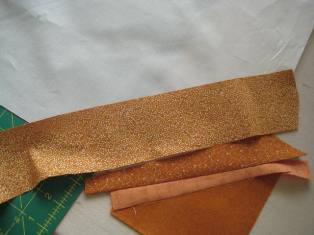
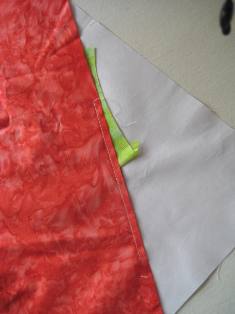
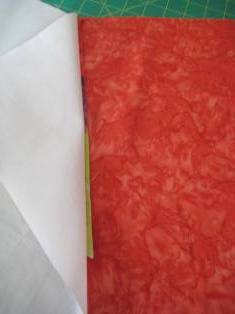
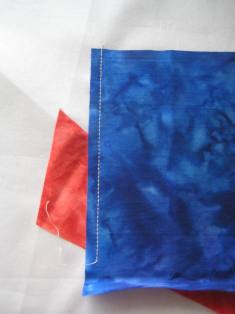
Begin by cutting your muslin piece slightly larger than your intended block size because the finished piece will shrink a bit from all of the seams. You will trim it down at the end. Next, lay down your first piece and allow it to hang off any edge. Mine is hanging off of one corner. Take your second piece of fabric (any width) and lay it RST (right sides together) on the corner fabric. Stitch using 1/4" seam allowance.

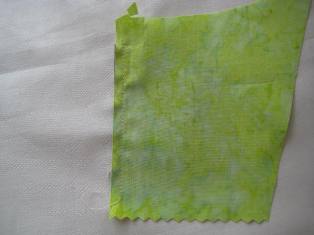
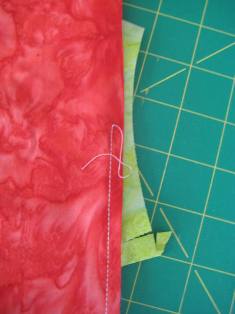
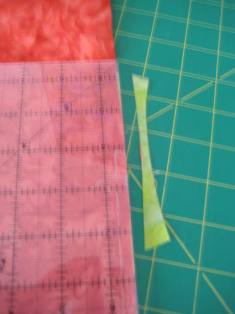
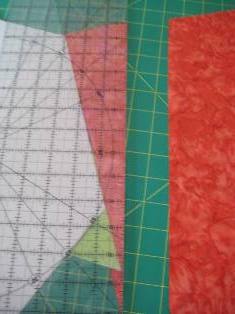
Press open. Prepare to trim the 2nd fabric, if desired, by moving the muslin out of the way, then trim as desired.
First two strips are done.
Continue in this manner of stitch, press, trim (if desired).
Tip! As you position each strip, double check to ensure the strip covers the entire space. In the case of diagonal strip piecing, it might appear like it's going to cover when you have RST, but when you press it open you might be surprised.
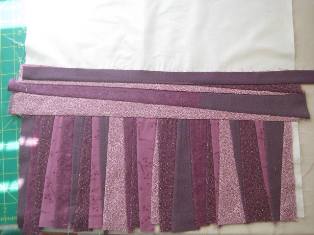
Have scraps that aren't quite long enough to cover a space? Just stitch them end to end to make a longer strip. Once you've got your strip long enough, trim it on one side so it is straight, as shown.
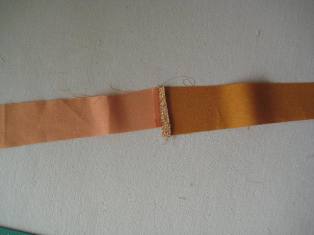
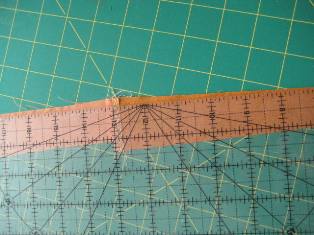
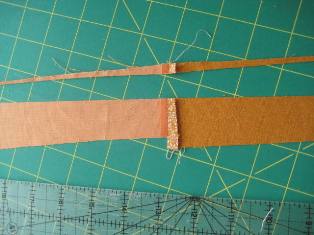
Then you can use it just like any other strip.
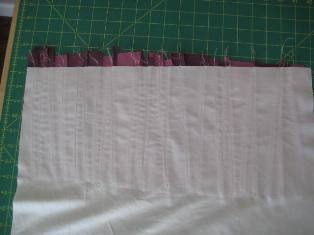
Here's what your block will look like from the back.
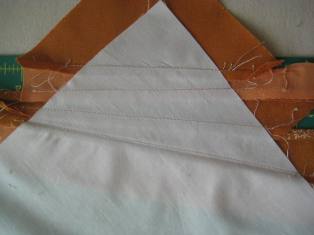
As you can see, you can make your strips perfectly even, or angled and wonky!
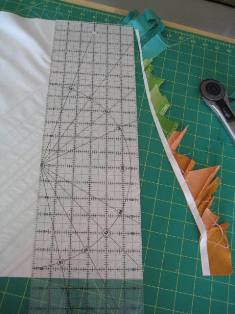
When you are satisfied with the area you've covered, trim the muslin block down to your unfinished block size.
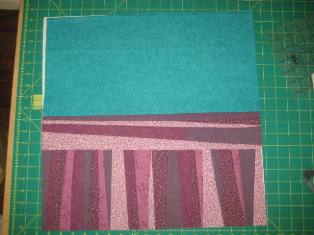
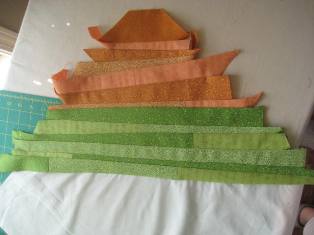
Here is the same technique, but I used shorter strips to cover a horizontal section with vertical strips.
When I was finished covering that section, I turned my block and started in the other direction. This is a technique to have fun with! Let your imagination and your scraps be your guide.
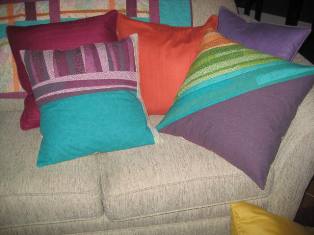
If you'd like to make these pillows, check out my free instruction sheet with more dimensions and specifics.
Crazy Quilt Block using a muslin foundation
Crazy Quilt Blocks are one of the most traditional uses of muslin foundation for piecing. This technique is much the same as String Pieced Blocks, with the exception of starting in the middle, instead of an edge.
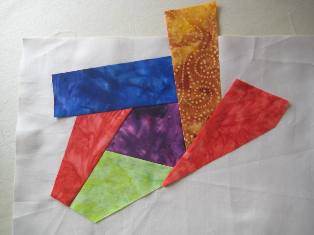
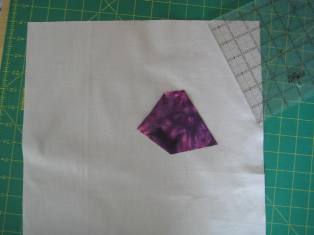
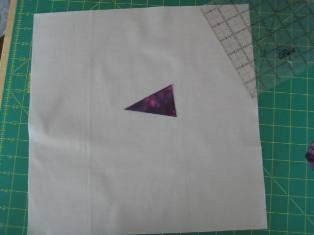
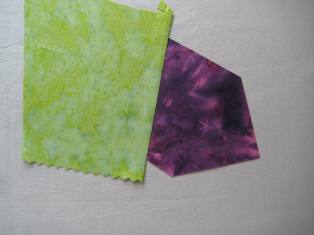
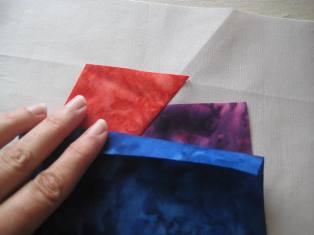
Just like with String Pieced Blocks, there are no real rules. However if you'd like a little bit of tradition, you'll begin your Crazy Quilt Block with a 5-sided piece of fabric (any size piece), and lay it Right Side Up, slightly off center, on top of your muslin. This is only one of many options, the crazier the better. I've seen beautiful Crazy Quilt Blocks that started with a triangle, and others with a simple 4 sided lopsided rectangle. But again, I can't stress this enough, a Crazy Quilt Block should reflect your personality, so fee free to begin with anything you like!
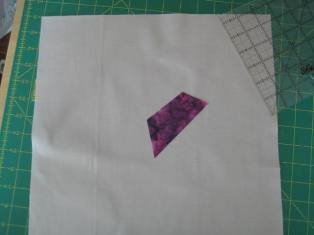
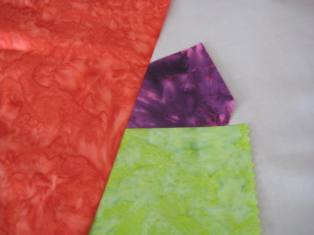
The idea here is to cover each of the 5 sides of piece one with 5 different fabrics, allowing the center block to stand out as the centerpiece. Scraps are great for this!
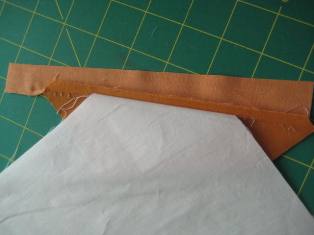
Lay fabric 2 RST on one side of fabric 1 and stitch.
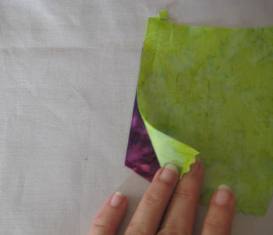
Press open.
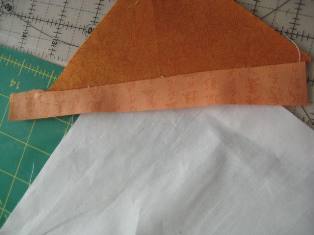
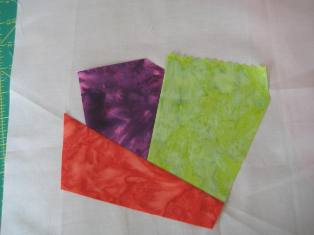
Lay fabric three across another side of fabric 1, so it covers both 1 and 2. Stitch.
Tip! If you trim as you go, you'll have less bulk and mess underneath. Trim by moving the muslin out of the way, just like you did on the String Pieced Block, and trim to 1/4".
Two sides are covered.
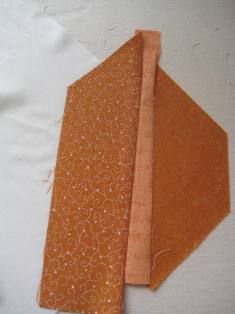
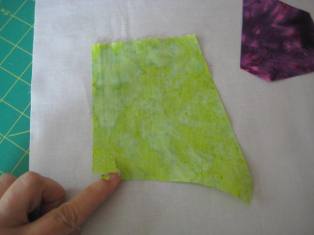
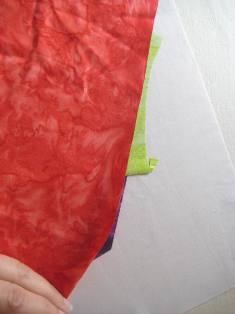
In the case of fabric 3, my fabric piece was much larger than I needed, so I moved the muslin out of the way and trimmed it down to some clever angle.
Two sides are covered, and the red is trimmed down a bit. But I have red and green hanging off the other side, so I trim a little more and it's beginning to look like something.
Fabric 4 (blue)covers another side of fabric 1 and fabric 3. It doesn't matter what order you do this in, just as long as you continue to cover fabric one until all 5 sides are covered.
Here's fabric 5

And finally fabric 6. All 5 sides are covered! Continue in this manner to cover any side combination you like until your muslin is filled. True Crazy Quilters like to appliqué in curves, circles and half round shapes to cover odd spots.
Remember, your center piece can be any size you like. Same goes with all the other fabric pieces. The larger the pieces, the faster you'll fill your block. The smaller the pieces, the more intricate your block will be. By the way, I used our Batiks to make this starter Crazy Quilt Block. Because they are batik, I could use either side of the fabric!