
How to Sew Throw Pillow Covers
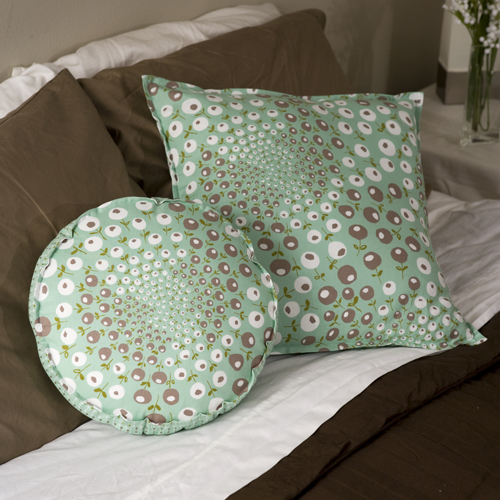
Square Throw Pillow Cover with flange
20" Square
You will need:
3/4 yard of front fabric (you may need more fabric if you want to fussy cut)
3/4 yard of fabric for the back - Or 1-1/2 yards of one fabric
Thread to match
One 20" pillow insert
Cut
One 20-3/4" square of the front fabric and,
Two 14-1/2 " x 20-3/4" rectangles for the back
1. Finish one 20-3/4" edge on each of the rectangles as follows:
Fold and press 1/4" then fold again 1/2" to the wrong side of the fabric.
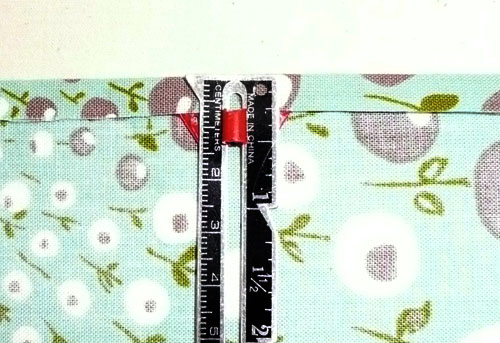
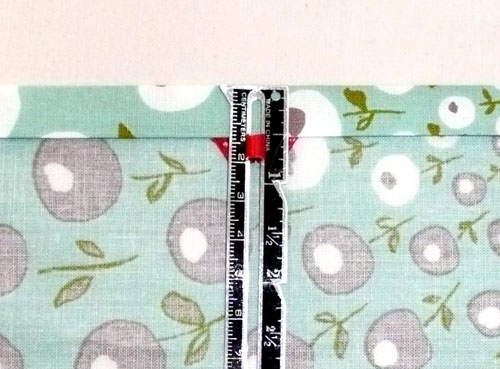
2. Stitch this in place close to the first fold.
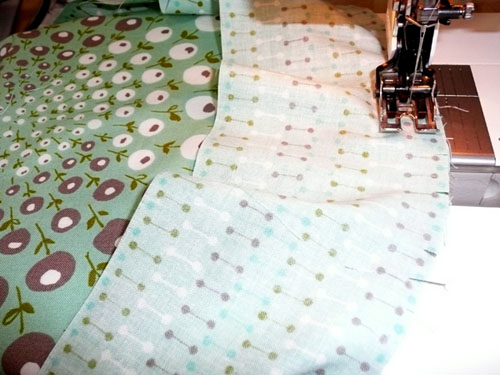
3. Lay the two rectangles overlapping on the front square, right sides together, making sure the entire square is covered and the finished edges of the rectangles are overlapping in the center.
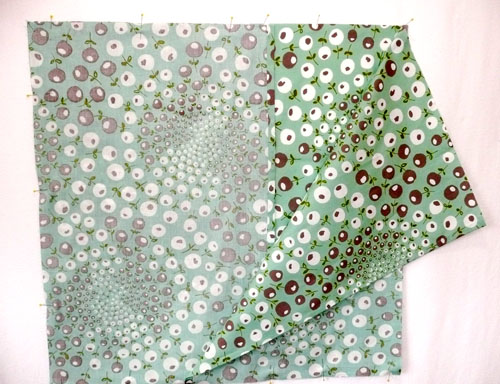
4. Stitch around the square using a ½" seam allowance.
5. Clip the corners and turn the cover right side out. Press.
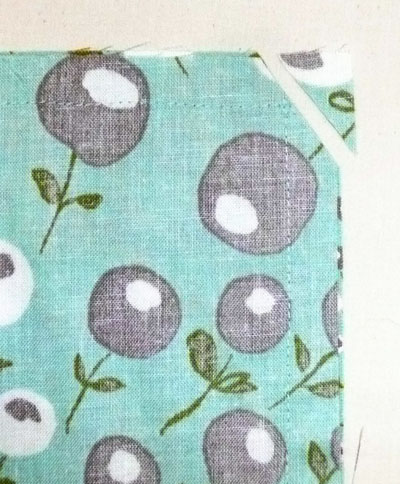
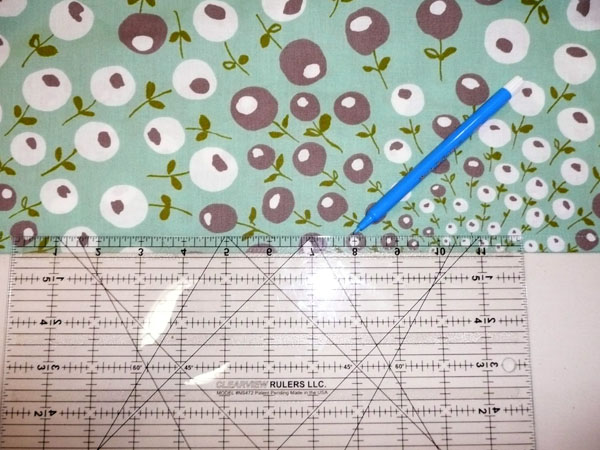
6. Using an erasable marker, draw a 19" square in the center of the pillow cover. Carefully pin the back of the cover closed, and stitch on the line. (It is always better to make the pillow cover a little smaller than the insert, that way the cushion looks plump and inviting.)
7. Remove the line and put the pillow form in the case.
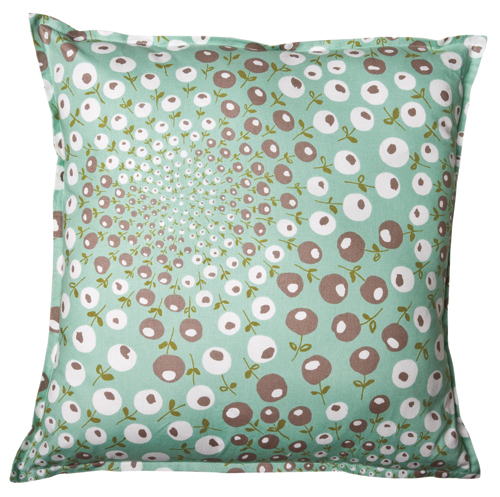
Enjoy.
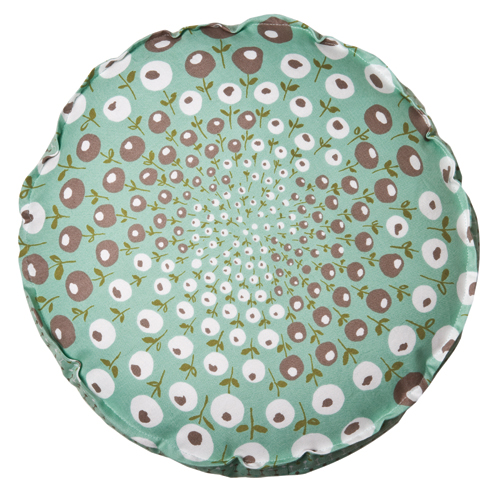
Round Throw Pillow Cover with flange
16" Round Pillow
You will need:
1/2 yard of focal fabric
1/4 yard side fabric
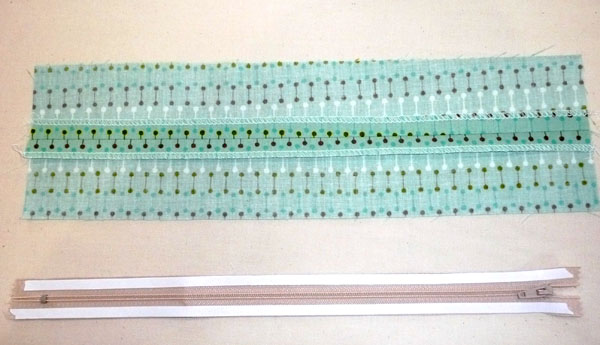
12" dress zipper
16" Round pillow insert
Wonder tape (optional)
Cut
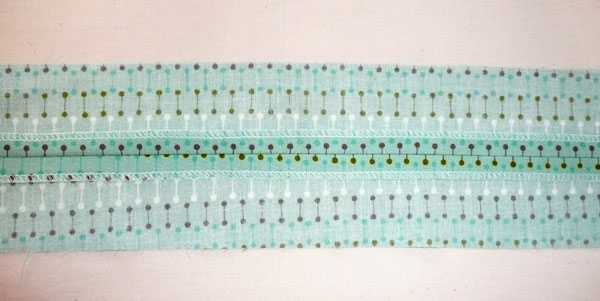
Two 15" circles (fussy cut design)
Two 2-1/2" x 14"
One 4" x 31-1/2"
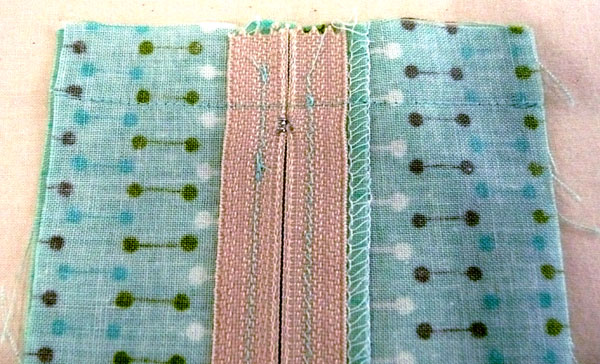
1. Use a serger or a large zigzag stitch to finish one long edge of each 2-1/2" strip.
2. Lay the 2-1/2" strips right sides together and baste the finished edges together using a 1/2" seam allowance. Press the seam open.
3. Lay the zipper face down on the seam allowance. Off set the center of the zipper to one side of the seam, so the zipper will have a flap covering it. Use Wonder Tape or pins to hold it in place.
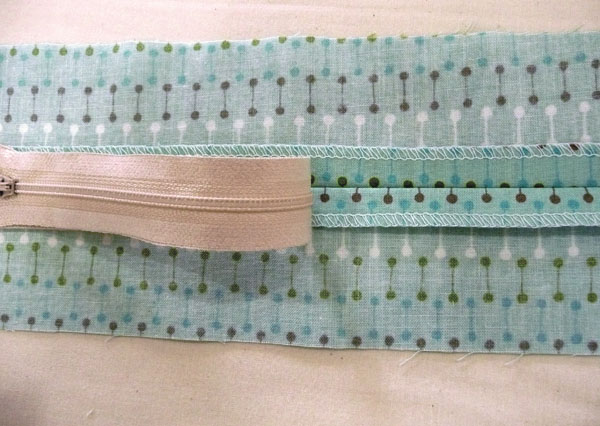
4. Stitch down each side of the zipper from the right side of the fabric. Feel where the zipper is, and using your zipper foot, stitch close to the basting line on the "non-flap" side, and 3/8" from the basting line on the "flap" side. If you are trying to stitch on the zipper teeth, you have your flap and non-flap sides mixed up!
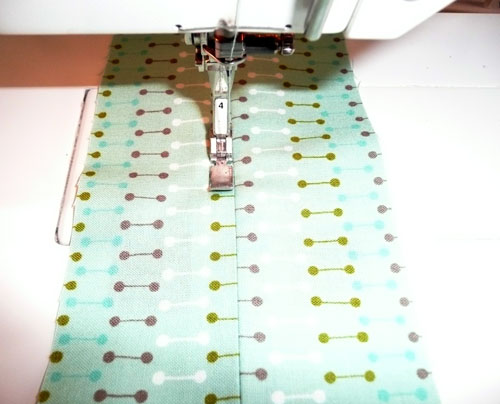
5. Remove the basting stitch.
6. Lay the 4" strip Right Sides Together on the end of the zipper. Carefully stitch across the end of the zipper.
7. Pin the side panel, Right Sides Together, to one of the circles. You will need to snip into the seam allowance of the zipper panel so the seam will sit flat, don't snip past 3/8". Pin all the way around. When you get back to where you started, pin the zipper panel together to make a circle. Remove a couple of pins so you can stitch the zipper panel into a circle first, then re-pin and stitch the zipper panel to the front of the pillow cover.
8. Open the zipper.
9. Pin the remaining circle Right Sides Together to the zipper panel as before, stitch using 1/2" seam allowance.
10. Use either a serger or a large zigzag stitch to finish the inside edges of the pillow cover.
11. Turn right side out and carefully press the seam lines.
12. Stitch 3/8" from seam lines to create a flange on each side of your pillow.
13. Put your 16" round pillow insert in. It should be a snug fit. Close the zipper and enjoy.