
Intro to Half Square Triangles
by Karen JohnsonThe half square triangle (HST) is one of the most basic blocks in quilting that is used in many more complex blocks. I'll demonstrate how to make them, and then I'll show them used in the popular pinwheel block.HST tips before you start:
- Always use a 1/4" seam allowance unless otherwise specified.
- At the end of this tutorial, we’ll include the formula for how to calculate cut sizes for each finished size HST.
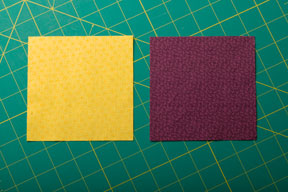
Cut 2 squares of contrasting fabric. We started with 5 3/8" squares.
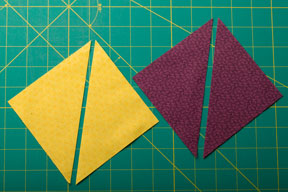
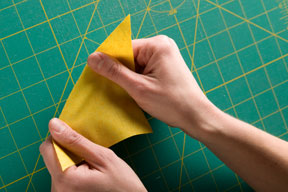
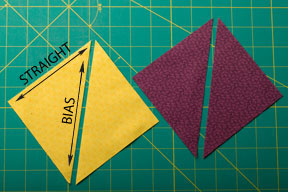
Cut each square in half, on the diagonal – be exact.
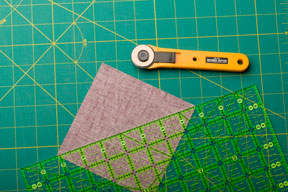
Note the bias edge. See how easily it can be stretched out of shape? This is a "Don't!"
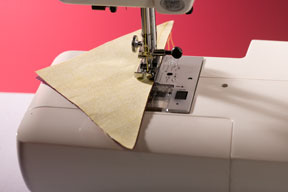
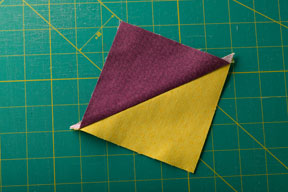
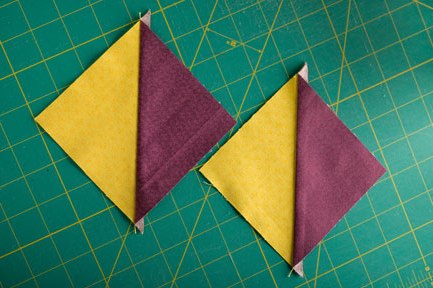
Take one triangle of each color, place long edges Right Sides Together (RST), stitch a 1/4" seam allowance.
You'll end up with this.
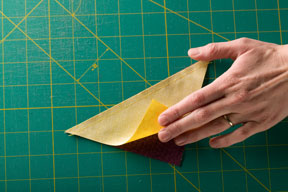
Press the seam allowance towards the darker fabric. Be careful to lift and press the iron, rather than move the iron around too much, remember this is the bias. Done! This piece will measure 5" square. Repeat with the other two triangles for a second HST.
Method two for HST – our favorite!

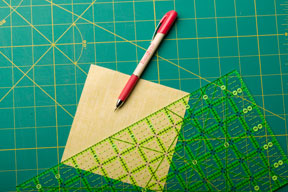
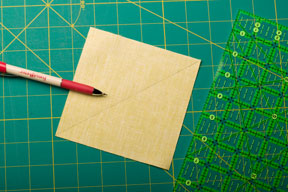
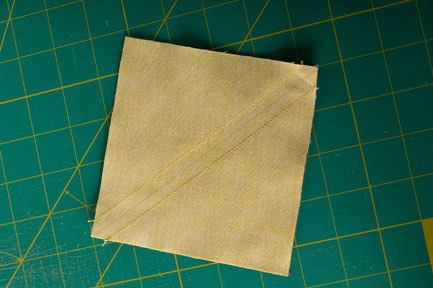
Using the lighter fabric, carefully mark a line down the middle of the light square – mark on the wrong side – corner to corner. Any fine tipped marking tool will work. We used the Fons & Porter mechanical pencil.
Place one light square and one dark square RST and pin if desired. Using 1/4" foot, sew 1/4" away from the marked line. Note, if you don’t have a 1/4" foot, or don’t trust yourself, draw 1/4" lines using a ruler and fine tipped marking tool and stitch directly on the lines.
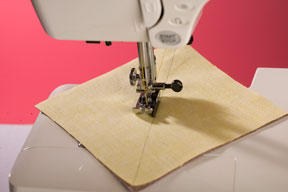
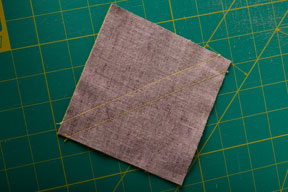
Repeat on other side of line.
And it will look like this on the other side.
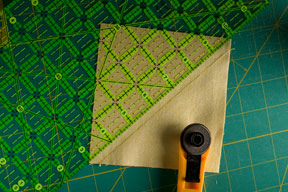
Cut on the center line.
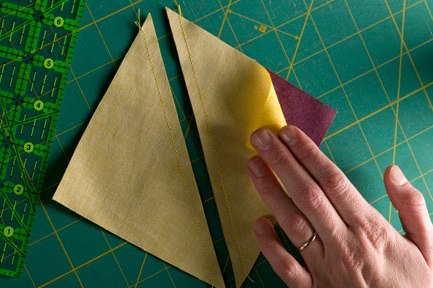
Press each seam allowance towards the darker fabric. Be careful to lift and press the iron, rather than move the iron around too much, remember this is the bias. Two HSTs are finished! These will each measure 5" square.
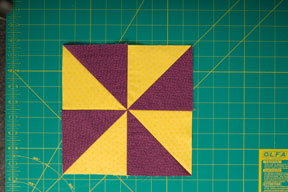
How to Assemble the Pinwheel.
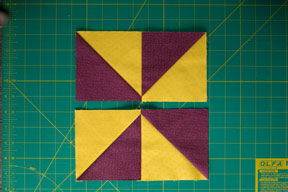
Keeping your placement intact, RST, piece as shown. Pin these pieces carefully, ensuring the diagonal seams are nested snuggly. Stitch slowly over this seam as well, to avoid movement or bumps. Each of these pieces will measure 5" x 9 1/2".
Final stitching – carefully pin the two halves together, nesting the center seam. Again, stitch slowly over the center section to avoid bumps or jerks.
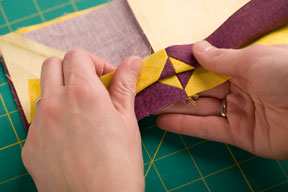
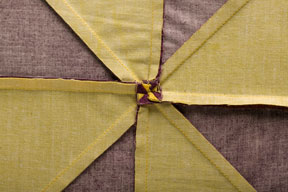
Pressing tip: You’ll end up with a lot of bulk at the center intersection, so before you press, carefully using a seam ripper, pick out 2-3 stitches from two of the seams, on the seam allowance side. This will allow you to open up the center to form a teeny tiny pinwheel on the backside. Finger press this open until you are happy that the bulk is removed. Now you can iron it open. The rest of the seam can be pressed to the dark side like all the others. As you press, don’t move the iron around too much or it will twist your beautiful center.
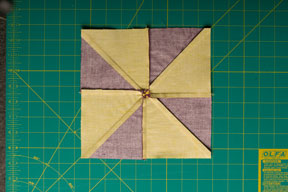
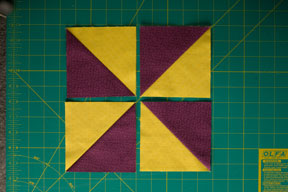
Voila! This block will measure 9 1/2" square. When sewn into a quilt with other blocks, the block will measure 9" square "finished".