

Kaleidoscope - Four Patch Block
by Karen Johnson
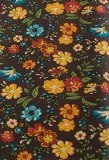
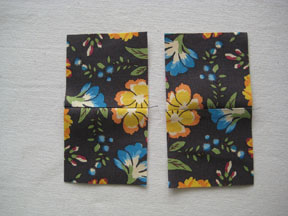
Using the guidelines from Karen's tutorial on how to choose fabric for Kaleidoscope blocks, you can use your own fabric to follow along as Karen shows you how to take this fabric:
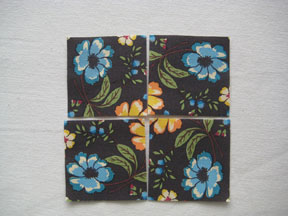
 and turn it into these blocks:
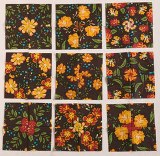
From there, you can use your blocks in any layout you like.
Here we go! These instructions will yield you at least 32, 4-Patch blocks to set any way you like, if you are using a fabric with a 12 1/2" repeat. Keep in mind if you are using your own fabric, the yardage requirement may vary greatly. When purchasing your fabric, request at least 4 repeats to make a 4-Patch quilt. A smaller repeat will yield less blocks, a larger repeat will yield more.
- Begin with 4 repeats of your focal (assuming a 12 1/2" repeat, ours measured 1 3/4 yards).
- Cut off selvage from one side.
- From that cut side, measure over 24" and cut the full length of the fabric.
- You'll end up with a piece that is 24" x approx 63".
- The remaining piece that still has the selvage will be used for borders.
- Identify the repeat using the methods from Week 1 lessons and cut the piece into 4 sections. Each section needs to incorporate the same exact full repeat.
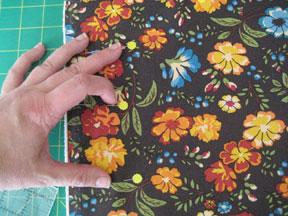
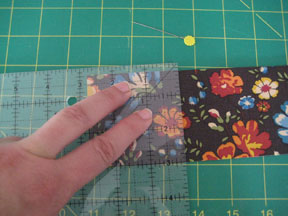
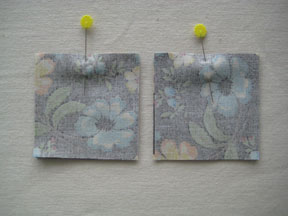
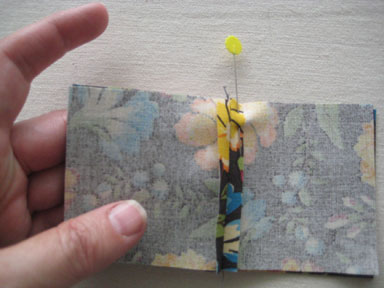
Before you cut, you'll need to move your pins around a bit, so you don't run over them with the rotary cutter. This method does not use templates, just a regular ruler, so you'll be cutting strips that are 2 3/4" x 24". Space your flat flower head pins so they fall under the ruler, every 2 3/4". In the right photo below, see where Karen's hands are pointing to the yellow pins? As you add pins, be careful not to shift the fabric from it's original pinning, or else you'll end up with unaligned layers.

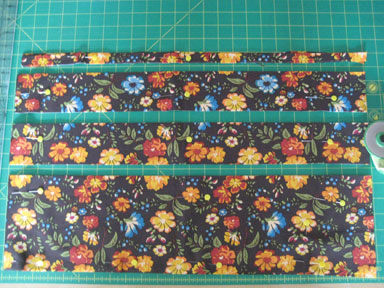
Ready to cut? Watching carefully for pins, cut 4 rows, each 2 3/4" x 24".
Next you'll cut these strips into 2 3/4" squares, again watching carefully for pins. Keep enough pins in place to keep things from shifting. See how each stack varies? If you are making our kit, cut 32 stacks.
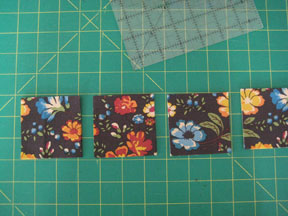
Keep your stacks organized by pinning each stack together, just in case they get brushed off your table. This is also good if you have "helpful" pets.
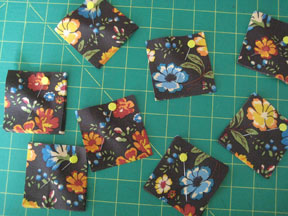
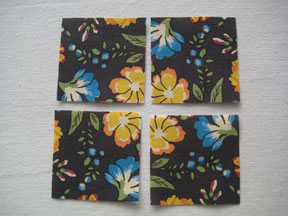
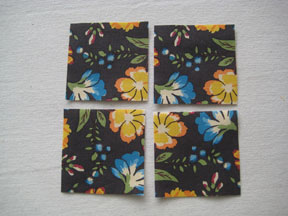
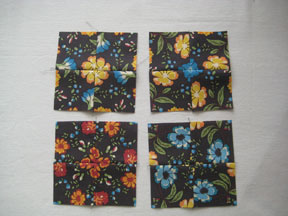
Now for some fun! Take one stack at a time and lay out your 4-Patch. You can turn these blocks into 4 different variations. Here are some of the looks you can get from one stack:
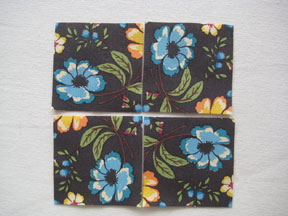

Here's the stack we're going to piece together. Notice in the right photo we weren't careful when laying out the four squares and would have ended up with a mistake!
To keep your squares turned correctly when sewing, take the top left square and lay it right sides together (RST) on the bottom left square, and pin them together on the top of the new stack. Repeat with the top right square on the bottom right square. This will help you when you go to the sewing machine - you'll know exactly which sides are supposed to be sewn together!
Stitch the pinned raw edges using 1/4" seam allowance. Press the seams open.
Now you can sew the two sections together, but again, watch carefully which raw edge is your center, and pin them so you don't mix it up when you get to your sewing machine.
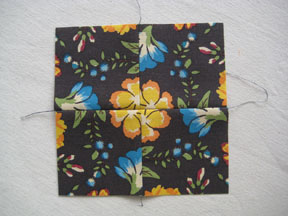
You have a 4-Patch!
Sew all 32 stacks together and admire all the variation in your blocks! It's so much fun to unveil each one!
Now you have the basics to make your own quilt.


