
Log Cabin - Assembling your quilt top
by Karen Johnson
In this tutorial, I'll show you how to complete a quilt top. This includes how to piece your blocks together and how to audition, measure and attach borders.
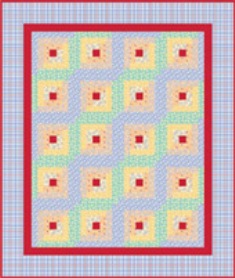
I'll be using our Free Pattern as our guide. If you missed the first segment of this beginner lesson, click here to see how to construct the basic Log Cabin block.
Design Wall
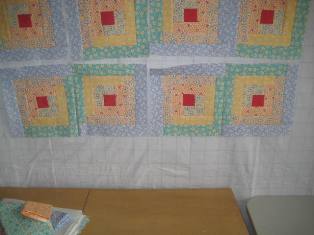
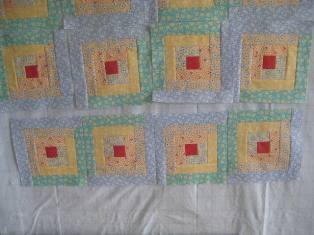
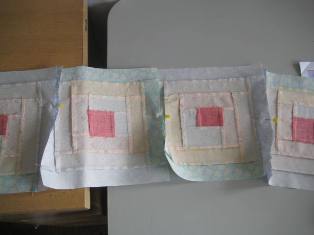
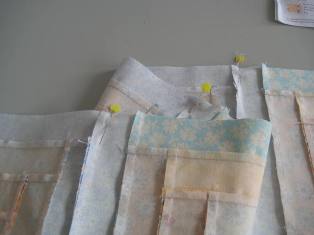
Begin by finding a space large enough to lay out all of your blocks. I've made 20 blocks for this pattern and I used a design wall pinned to a wall in my sewing room next to my machine. You can make your own design wall by hanging a large piece of flannel, batting, or fuzzy backed table cloth fabric on your wall, secured in all corners so it doesn't flap loose. Your blocks will stick to the design wall with natural friction, allowing you to reposition them as much as you like. But I haven't always had this kind of wall space. Any floor space works too.
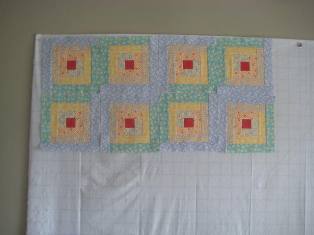
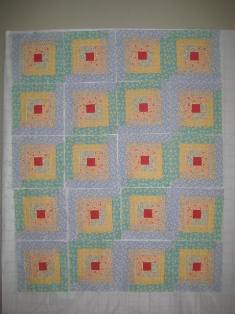
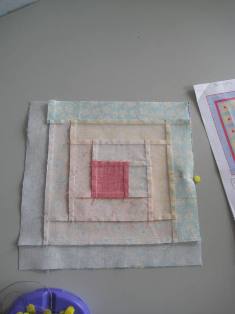
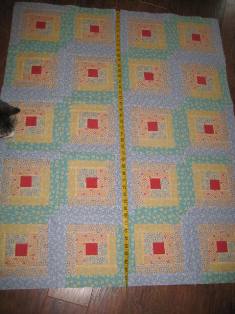
Arrange all of the blocks until you are pleased with the final layout. For our pattern, we created green and blue alternating diagonal rows. Tip! Notice this fabric is not high in contrast and it's not always easy to see if you have a block turned wrong. I like to take a digital picture and look at the photo to be sure I'm really happy before I start piecing them together.
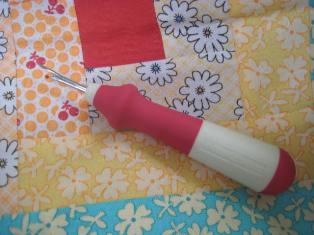
Now it's time to start piecing the blocks together. I'm going to show you two different options for keeping them straight. You can choose your favorite, but both will help you prevent mistakenly turning a block in a wrong direction....something that is very easy to do!
Option 1
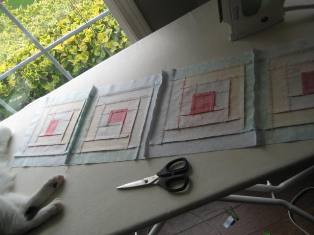
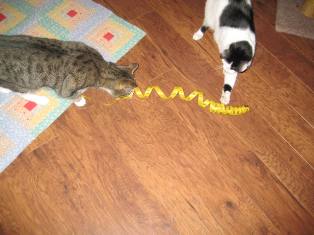
Take two blocks off the wall at a time. Carefully note as you're removing them from the wall which two seams are going to be stitched and pin them immediately. It's very easy to move these out of position if you are distracted (by the phone, the cat, the baby, etc), so pin it roughly together quickly.

Stitch the two blocks together, and don't press the seams just yet. Repeat with another 2 blocks from the same row. Place both pairs back on the design wall and double check your positioning (you really can't do this enough!). Take the two pairs and pin them end to end into one long section of four blocks. Stitch.
.
Option 2
This is my preferred method, because I don't have to get up and down as often. Take the entire row of blocks off the design wall, quickly and carefully pinning each together as you remove them from the wall. Keeping all the blocks pinned together, stitch each pair together until the row is completely stitched.
Pressing
Pressing in one direction will make your life easier when you piece your rows together. Press all the seams for the entire row, all in the same direction, all in one pressing session. In other words, don't press these blocks one at a time or you'll drive yourself crazy trying to remember which direction you should press.
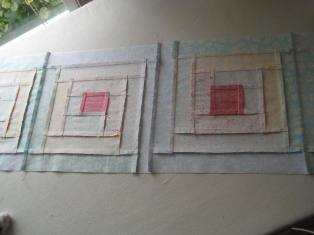
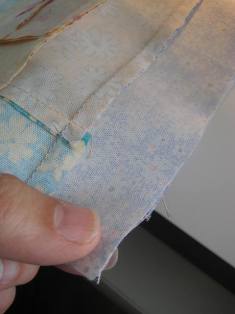
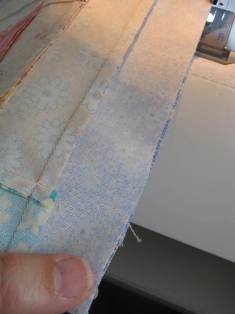
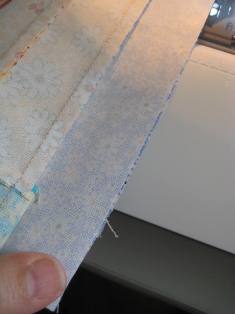
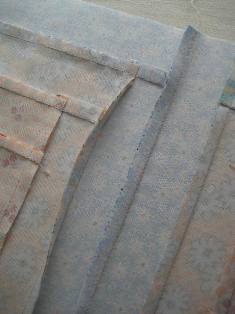
As you complete each row and are ready to press the seam allowance, check the previous row and press in the opposite direction. For example, row one - press all seams to the left. Row two, press all seams to the right. Row three, press all seams to the left. The reason for this is to create less bulk in the seams when these rows are put together. See below for images that demonstrate how these will go together in opposite directions when pieced together.

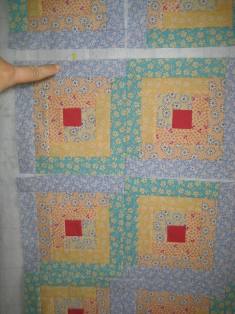
Assembling the rows.
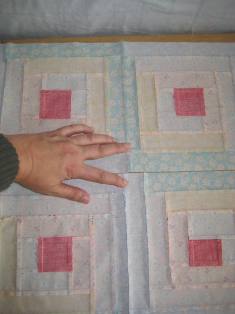
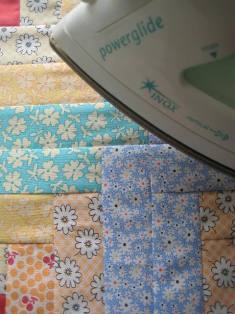
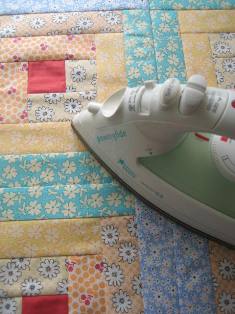
I tend to avoid pinning whenever possible, but I always pin when putting rows together. Pin at every block intersection (below left) and be careful to pin that intersection so it lays flat (below right). Stitch the rows together. It doesn't matter which direction you press these big seams, but do press all the rows in the same direction, to make sewing on borders easier later.
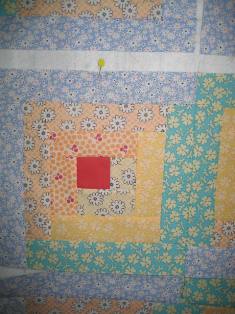
Tip! When removing a row from the design wall, I like to place a pin in the top left block to help me remember which side is up. You can select any spot you like, just use the same spot every time.
Ease
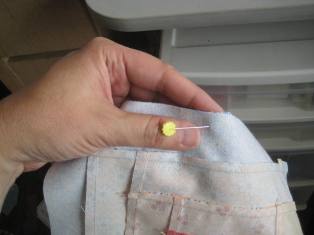
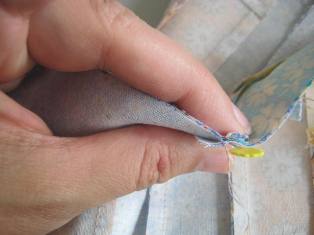
You might find that some of your blocks or rows don't exactly match when piecing them together. It happens! Your blocks will have a certain amount of ease, or stretch, and you can use that ease to gently force your blocks to fit. I say gently and I mean gently. If your blocks are off by around 1/4", you can ease it beautifully. If they are off much more than than, something is seriously wrong with your seam allowance and you should fix the blocks, not force them together. Below I show two blocks that are off slightly less than 1/4". Begin stitching the seam and stop after an inch or so. In the first picture, you can see how far off the blocks are. Leave the sewing machine needle in the down position.
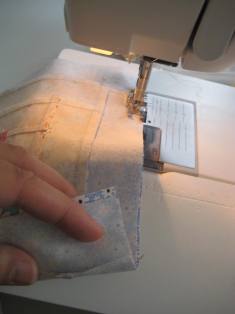
Align the end of the block and grip the end, or pin it. In these two photos (below) you might be able to see that after I aligned the end, the top fabric has a wave of extra fabric.
With the sewing machine need still in the down position, gently tug the seam with the fingers that are gripping the end. Nudge the fabric in the middle slightly to be sure it is all aligned. Keep that gentle tugging and begin stitching. Stitch the entire seam. With only 1/4" ease, you won't notice this ease at all once the block is pressed.
Pressing Tip! With all this pressing going on, it's easy to accidentally "unpress" one of your earlier seams. Just watch out for "unpressed" seams and fix them right away. It's easier to fix it now, then later when the entire quilt is done and it's creating a lump.

I also like to give the front side a final steam at every intersection as I go. It helps flatten those busy intersections. But do double check the back once again for accidentally "unpressing".
Borders
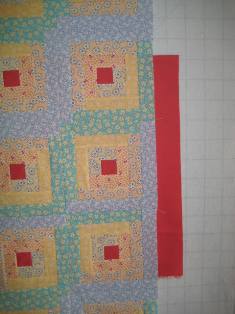
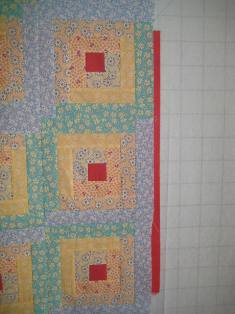
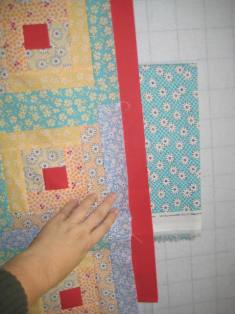
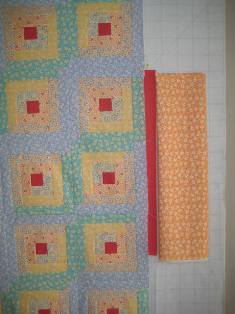
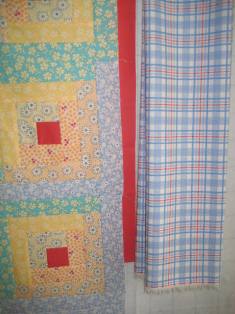
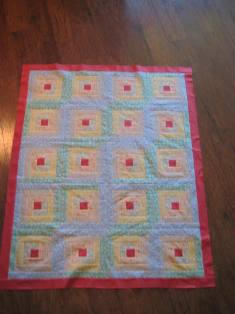
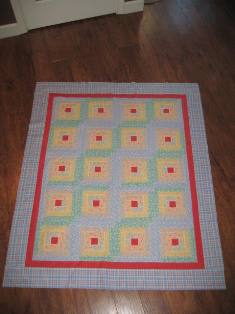
Auditioning your borders. I find the camera comes in handy again when auditioning borders. You have so many options, and unless you have a friend available to help you judge, take a photo of the various colors and widths of your possible borders. Hang the quilt center on your design wall, or lay it on the floor, and lay a small section of your possible choices along the edge. Fuss around with various colors and widths until you are happy with the results. Below are a few options I considered before deciding on a 1 1/2" finished red inner border and a 4" finished plaid outer border.
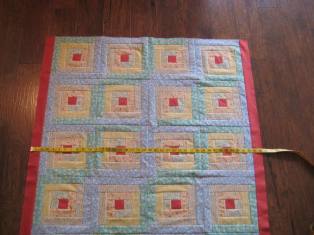
Measure the borders. Most patterns will tell you how long to cut your borders, but many will also tell you to measure before cutting. With seam allowance variances, your quilt center could vary from what the pattern tells you. Measure twice, cut once! But don't measure along the outer edge where the border will be added. Instead, measure the center of the quilt top to determine your border length. This may seem odd, but if you measure the outer area, your quilt may not end up square, or may have warbled borders that don't quite fit right. You might have a little bit of easing to do, but you'll be happier with the results.
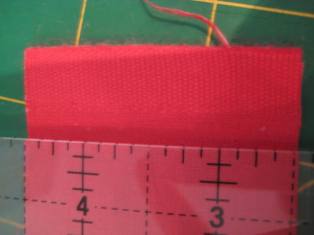
Piecing a border. Borders are often longer than then length of your fabric, so you'll have to piece your border strips together. Here's the technique for piecing strips together. This works for piecing binding together too. Begin by cutting off any selvage. Selvage is the very edge of the fabric where it is woven more tightly to prevent raveling. You should not use selvage in your project as it will behave different than the rest of your fabric.
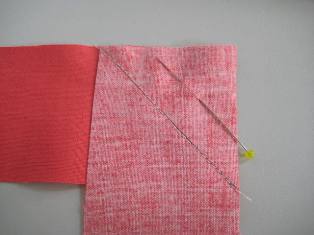
Lay two strips RST (right sides together) at right angles to each other and pin. Use a marker and draw a 45 degree line from one corner to other. This will be your stitching line. Stitch.
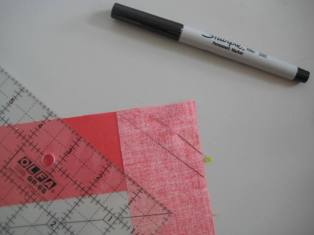
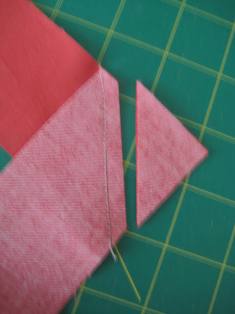
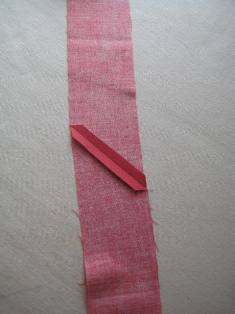
Trim the seam down to 1/4" and press the seam open. Repeat until your border pieces are long enough.
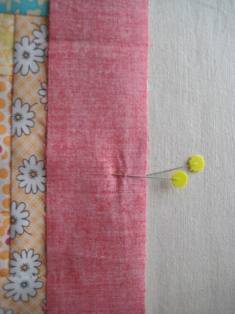
Attaching the borders. You now have relatively long sections to sew together. To ensure you don't end up easing just the last few inches, and to ensure your ease is evenly spaced throughout the entire length of the seam, you'll need to pin a bit. Find the center of your border and mark with a pin. Find the center of your quilt top edge and mark with a pin. Pin the border to the quilt top, RST and match the two pins. Depending on how unwieldy your border is, you might want to repeat this at quarter intervals. Stitch the seams and press the seam allowance toward the border.

Repeat the measuring again after each border is added, for as many borders as you choose.
And don't leave the quilt top laying around too long, or someone will adopt it as their own!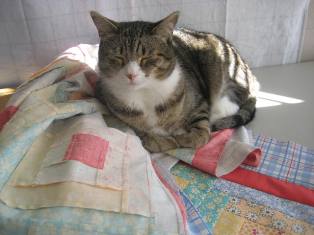
Time to rip! Why? Did you happen to notice that somewhere about halfway through the piecing of my blocks, I somehow turned some? Yup, the so called expert, me, did exactly what I told you not to do. I got distracted when placing a row back on the design wall. Of course, I didn't notice it until the quilt was entirely sewn, and even then I only noticed it here when I was posting the final photos. Argghhh! Time to rip!