

Stars - QST Variable Stars
by Karen Johnson
This tutorial will focus on just one style of star block - the Variable Star made from Quarter Square Triangles.
We'll demonstrate two different methods for creating Quarter Square Triangles, using just basic quilting supplies: mat, ruler, rotary cutter and sewing machine.
Now for making Quarter Square Triangles! First, the formula. Yes, sorry. We know quilters hate formulas, but it's an easy formula, really! Take the unfinished size of your Quarter Square Triangle (QST) block and add 1 1/2" for the size square you will cut. That's it! Really! This applies to both methods we'll show you this week.
Now many quilters will tell you to make it 1 1/4", instead of 1 1/2", but we've seen too many quilters get frustrated when the finished piece is too small. Since you're sewing four seams in this little space, a less than perfect seam allowance will net you a too-small block. So we like to cut it a little bigger and trim down the finished piece. We're just happier that way!
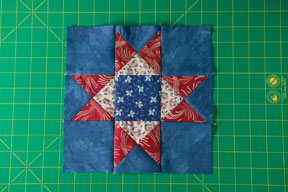
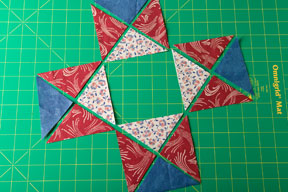
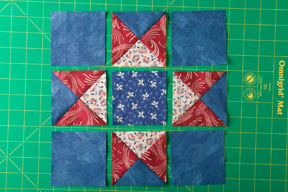
So for our specific project, we're making a 9" finished Variable Star Block. Look at the photo of the block and you'll see that it's actually a Nine Patch Block, so it's divided equally into nine different squares. We'll need 3" finished squares for each section, or 3 1/2" unfinished.
Method One
To make four QST's for this block, cut 5" squares of the three fabrics you've chosen (3 1/2" plus 1 1/2"). We're using Firecracker. For our color combination we need one square of the light and of the blue, and two squares of the red.
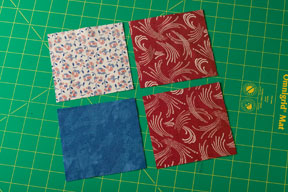
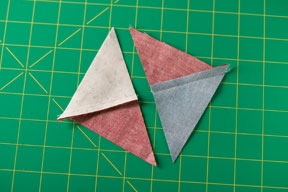
Cut each square in half, and then in half again, so it will look like this:
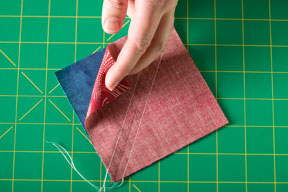
Before you start sewing, lay out your triangles to determine what colors go where.
Using a 1/4" seam allowance, stitch the white to the red, then stitch the blue to the red. Press the seams toward the red. If you're a newbie, check out our 2 minute pressing tip video.
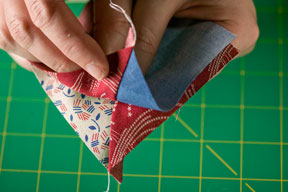
Double check your color placement once more, then stitch the two sections together, carefully matching the seams by nesting the seams together. Press.

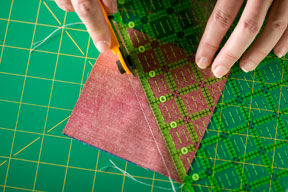
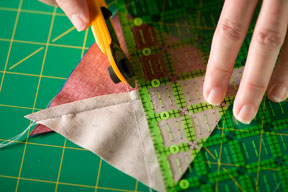
Trim your block down to 3 1/2" square. We like to use the 45 degree lines on our rulers to be sure we are centered before trimming.
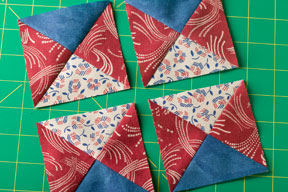
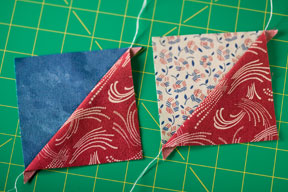
Repeat for all four units and they'll look like this:
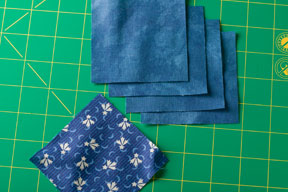
To finish the block, cut 3 1/2" square of the remaining colors. We used blue for the corners and blue print in the center.
Pretty! Finish assembling the units using 1/4" seams.
Method 2 for QSTs
We like this method because it yields two QSTs from one technique. Using the same cutting sizes from Method one, cut 5" squares from the three colors.
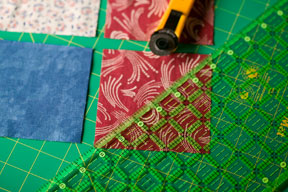
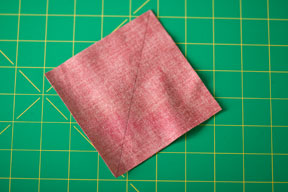
Using a pencil or sharp tipped pen, draw a line on the red squares from corner to corner.
Place two squares Right Sides Together (RST). You'll make one with the red and blue squares and you'll make another with the red and white squares. If you have a quarter inch foot on your machine, use it to stitch 1/4" on each side of your marked line. If you don't, mark the stitch line first, then stitch on each stitch line.
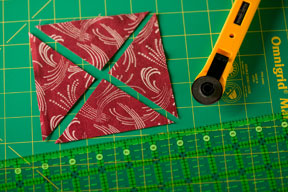
Cut on the center line, between the two stitch lines.
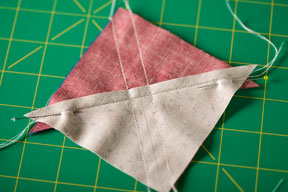
You'll have 2 units of each color combo. Press the seams to the red side. Repeat the process with the red and white squares.
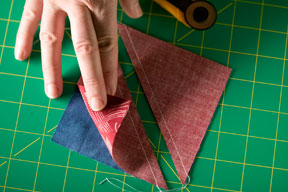
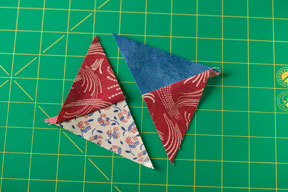
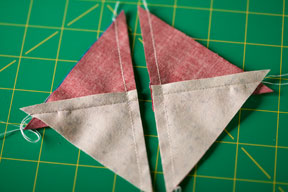
You'll end up with two red/blue units and two red/white units. (this photo shows one red/bue unit and one red/white unit).
Place one red/blue unit RST with one red/white unit. Draw a line down the center of one wrong side, running across the previous seam.
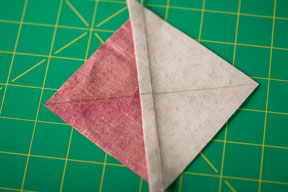
Carefully match seams by nesting the seams together and pin both ends to avoid any shifting while sewing.
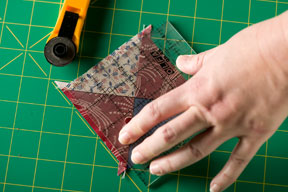
Using your quarter inch foot, stitch 1/4" on each side of drawn line. If you don't have 1/4" foot, draw your stitch lines on each side of the center line and stitch on the drawn stitch line.
Cut down the drawn line.
Cool, huh?! Repeat with the remaining squares to yield a total of four QSTs.

Finish assembling by following the steps in Method one.


