Nine Patch Lesson 1: Basic Piecing with Charms
by Karen Johnson
The Nine Patch Block is an excellent beginner block with tons of design potential. In the first lesson, we'll demonstrate the very basics of this block. The second lesson will show you strip piecing, a method to make many of the same block, more quickly. The final lesson will be a visual guide of inspiration to get your own design ideas flowing.
If you're an experienced quilter, please share this tutorial with a newbie, a wannabe, or just someone you think might be inspired by learning something new.
Nine Patch Lesson 1
We'll start with the most simple form of piecing...using precut squares! Charm packs, or pre cut 5" squares are readily available in most quilt shops and on our website. You generally get a nice variety of lights and darks, so you can make a scrappy Nine Patch block. To make our visual consistent, we've cut our 5" squares from just two fabrics so you can follow along more easily. You could also make these from the 10" precut squares that are available on the market to make an instant, one block, mini quilt!
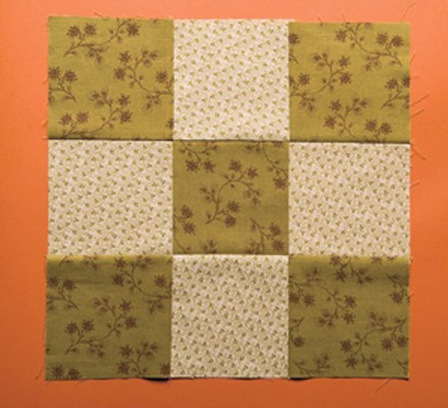
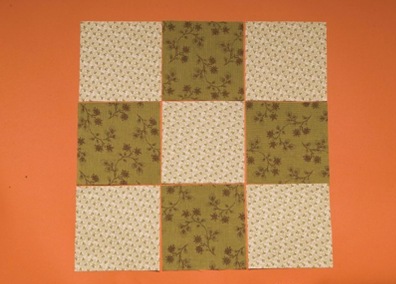
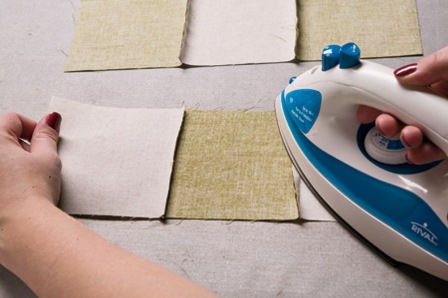
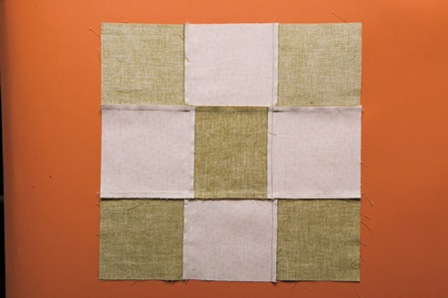
To begin, you'll need a total of nine squares, in whatever size you like. We're using 5" squares. You can arrange the colors any way you like, but the most traditional color formation of the Nine Patch blocks are in a checkerboard pattern, alternating the lights and darks, like this:
Before you start stitching your first seam, you need to know that you are able to sew an accurate 1/4" seam. Unless otherwise indicated, most quilting patterns use a 1/4" seam. If you've ever followed a commercial sewing pattern, you'll remember those patterns call for 5/8" seams. Because these quilt blocks are joined to other quilt blocks, this seam allowance is important! Off a slosh and you'll regret it later when you piece your blocks together.
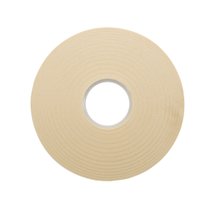
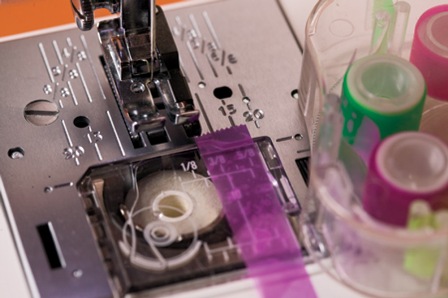
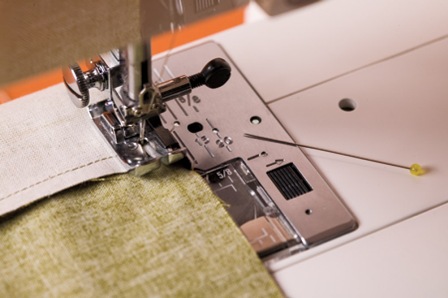
If your machine has a quarter inch foot, great! Use it. If not, you can use the pre marked numbers on the metal throat plate of your machine, but it's sometimes hard to see. We like to apply reusable tape (like blue painters tape or masking tape) to the metal throat plate, using that same 1/4" line, but it's much more visible when you're sewing.
To test your 1/4" accuracy, do a little test. Cut two, 2" square pieces of fabric. Sew one test seam, 1/4" wide, press open your seam and measure the 2 blocks. They should measure 3 1/2" wide. If they are off at all, you need to adjust your 1/4" seams. A common mistake when using a quarter inch foot is to allow the fabric to rub against the foot, instead of letting it just ride alongside the foot. Do a couple of practice seams until you're satisfied you have an accurate 1/4" seam. You'll be happier later!
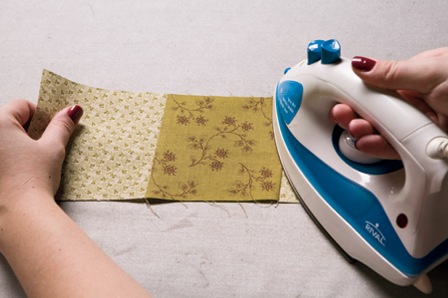
Now, to get on with piecing your block. Place your fabrics Right Side Together (RST) and sew your block together in rows, as shown. Some quilters like to pin them together, but many do not.
Press all of the seams carefully, towards the darker fabric. This will do two things for you. First, assuming you have contrasting colors, the dark fabric won't show through the finished blocks, and second, you'll be preparing the way, ironing-wise, for super easy piecing of your finished Nine Patch blocks to other Nine Patch blocks later.
Pressing tip! See the attached video for a quick visual of the proper way to press seams open. There are as many techniques for "proper pressing" as there are quilters. The video shows you one way, and here we'll show you another. Choose what feels best for you.
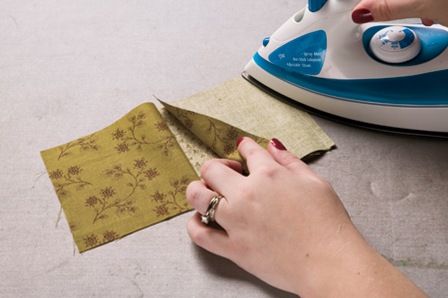
- From the wrong side, press your newly sewn seam, using a hot steam iron. This will "set" the seam and help you get a super crisp join when you do the next step.
- Use the weight of the iron to gently force the entire seam to one side (towards the darker fabric). Using the opposite hand, gently tug the fabric away from iron. This helps to separate the fabric so you don't have any tucks on the right side of the seam.
- Try not to "rub" the iron much, instead, use an up and down motion against the seam to gently push that seam open.
- Flip the section over to the right side and repeat the up and down motion, again moving gently from the light side to the darker fabric.
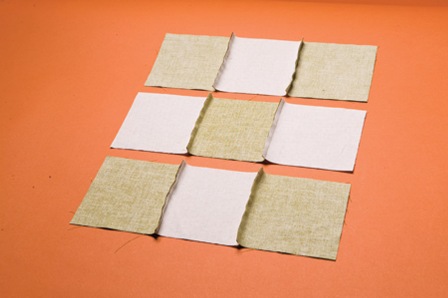
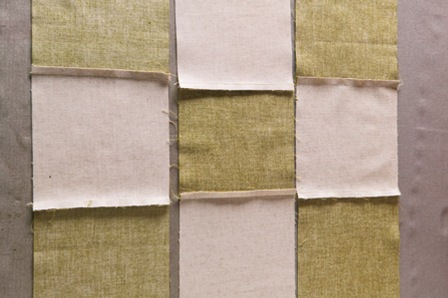
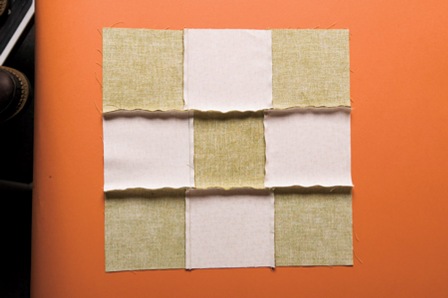
You should now have three units sewn and pressed. Next you'll join these together. But first, lay them back down to form your design. This step is so you don't mistakenly piece the wrong sections together (we've all done it).
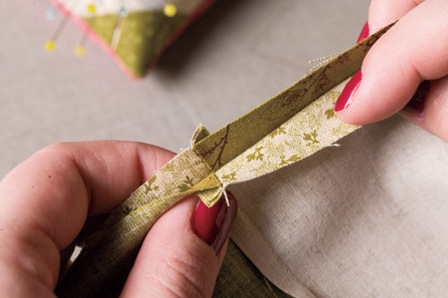
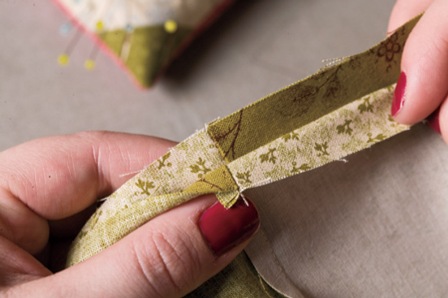
You'll now sew these three sections together, however you'll need to take a moment to match up seams. Notice from the back how the seam allowance of each block is going in the opposite direction? That's because you pressed towards the darker fabric earlier. This makes for a nice flat seam with less bumps.Again, RST, match up each of the seams.

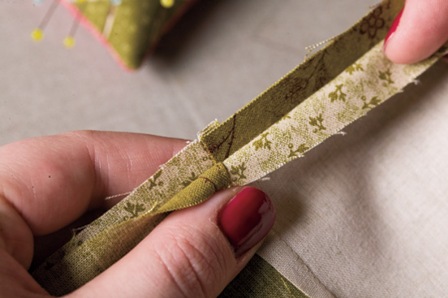
Correct (image below):
Wrong (image below). The seams here are off alignment and the back piece needs to be nudged a little to the left.
Wrong (image below). The seams in this example are off alignment and the back pieces needs to be nudged a little to the right.
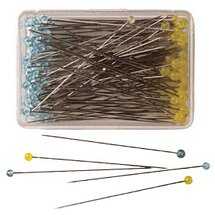
Now that you have the seams aligned, pin as shown. Yes, you really should pin this section together to keep it from moving around as you reposition at the machine. We like long fine sharp pins like these.
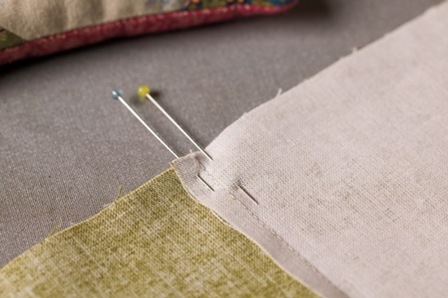
Now you can stitch the entire seam. Slow the machine down a bit as you go over each seam so you can ensure you're still keeping an accurate 1/4". Pull the pin out just as you approach to prevent from hitting it with your sewing machine needle.
Press the seams to the side with the most dark fabric, as shown.
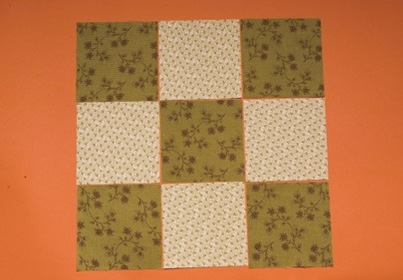
You have a finished Nine Patch block!