
Applique - Fused Edge Prep
by Karen Johnson
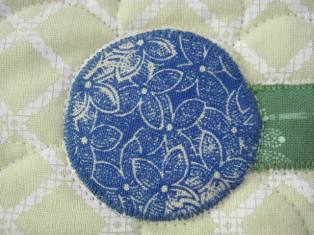
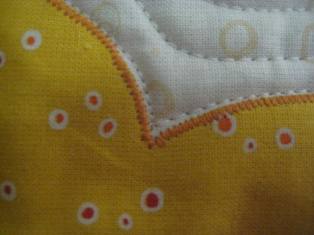
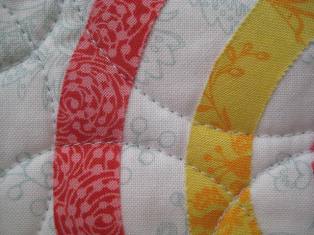
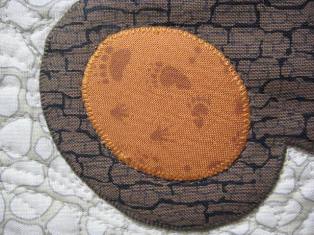
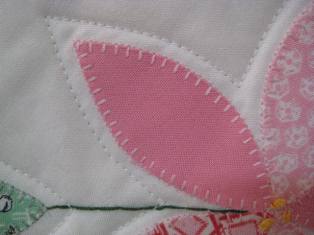
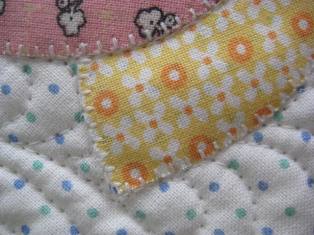
Why fused edge appliqué? Fusing your fabric pieces is an easy way to complete an appliqué project fast. You can leave the edges unstitched if you don't plan to launder the finished project (wall hangings, art quilts). Or you can finish the raw edges with blanket or zig zag stitching if you are going to launder the quilt. Here are a few photos of fused edges with various stitch finishes from my Introduction to Applique segment.
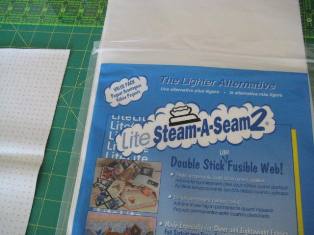
Which fusible? Start off by choosing your fusible web. We like Lite Steam-A-Seam 2 because it leaves less weight in the finished product and it's a double sided fusible. That means it has paper on both sides of the fusible. You can keep both papers intact while tracing, then remove one side for initial placement on your fabric. If you are making a wall hanging that will not have the edges finished, I recommend the regular weight of Steam-A-Seam 2 for a stronger hold. Either product will come loose in the wash.
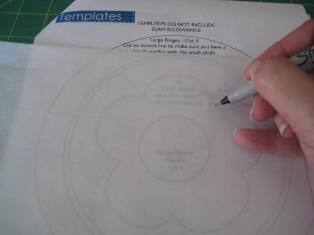
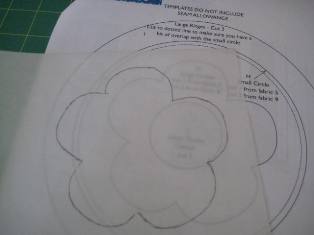
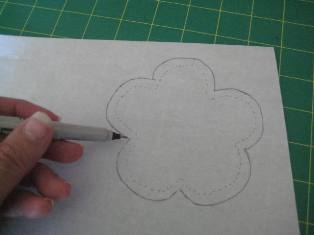
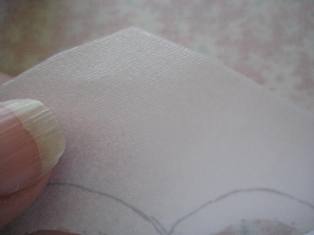
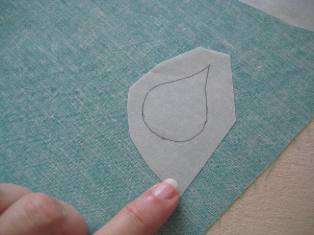
Begin by taking a sheet of fusible and trace your pattern. Because it's somewhat sheer, you can see through to the pattern. Most any pen or pencil should work. Check your pattern to see if seam allowances were included. Some do, most don't. You want to trace on the finished line, and seam allowances are generally not needed for fusible appliqué, although occasionaly a small allowance is included for intended overlapping. You'll see an example of that in our Free Pattern that is demonstrated here.
Tip! Our design today is not a directional piece, but if you have a design that has a right side, like letters, stop before you trace to consider which side of the fusible you should be tracing on. You'll want your tracing to be on the side of the paper where the fusible adheres to the paper more strongly (usually one side of the paper releases more easily than the other - trace on the side that did not release easily).
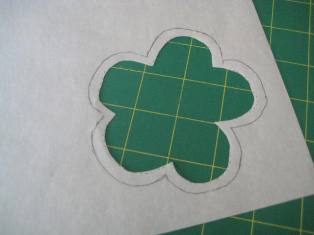
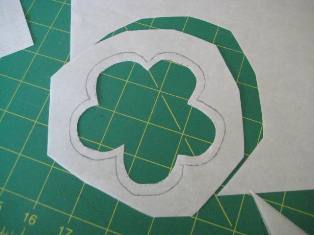
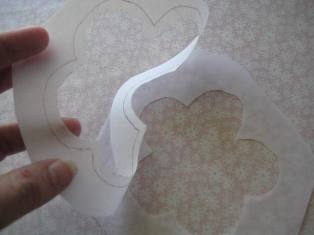
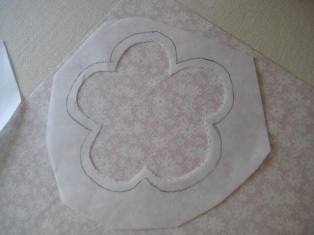
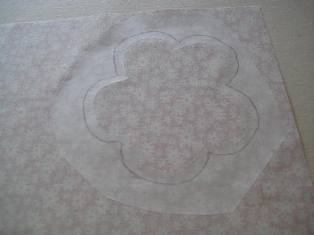
Windowing fusible In our flower example here, less fusible in the finished piece is desired because the flower is large, so we're going to cut out some of the unneeded fusible web. This is entirely optional based on your personal preference. If you leave the whole piece fused, you save time, but it will be a little more stiff. If you cut out the excess, it will take you a little more time, but the finished center will be more pliable and will be easier to sew through if you want to quilt in the center or embellish later. It's up to you!
To create the window, take your original tracing, and cut from the inside, approx 1/4" inside the line. If you prefer, use a pen to premark where you are going to cut, perhaps with a dotted line to help remind you which line to cut on.
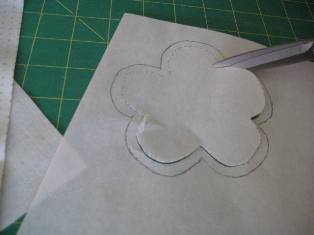
At this point, do NOT cut the outer line. That will come later. Rough cut your piece away from the sheet so the next step doesn't waste fabric.
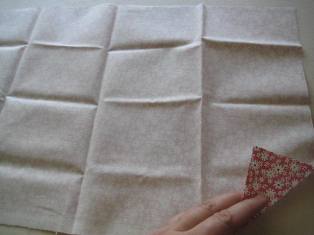
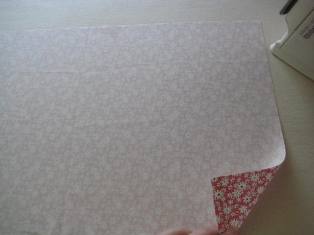
Prepare your fabric for the fusible piece. Press the fabric to eliminate any creases.
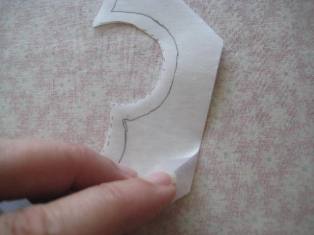
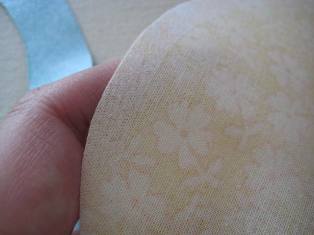
Gently remove one side of the paper from the fusible. Be sure you are removing paper only, not the fusible web. In my close up to the right, you might be able to see the fusible looks rough and slightly sticky.
Continue to remove the paper gently. Lay the fusible on the wrong side of the fabric. The paper is facing up, fusible against the wrong side of the fabric. You can pick this piece up and reposition as many times as you like until it's pressed. Now is the time to choose the exact placement if you have a fabric that requires fussy cutting.
Once you are sure of your placement, press. Be sure to follow the instructions on the fusible product of your choice. Once you have pressed, the piece can no longer be repositioned.

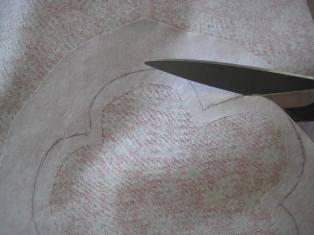
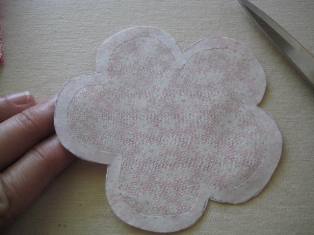
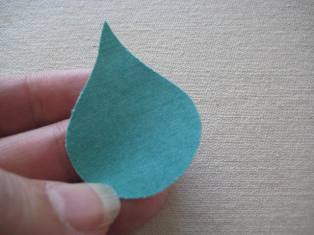
Time to cut! Using good quality scissors, cut on the previously traced line. Try to be precise and smooth as this is the final edge that will show on your quilt. For the moment, keep the paper on the piece until you are ready to put your entire design together. If you are making the design from our FREE Pattern, then finish making all of the larger shapes, H, M, J, and N using this windowing technique. The cut pieces should also be handled gently to avoid pulling on the bias areas, or stretching the raw edges out of shape.
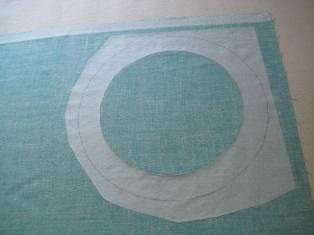
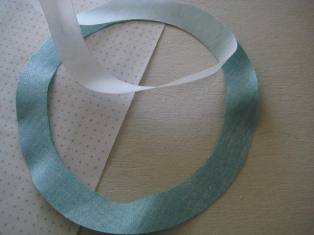
I decided to make the large ring in our project without the windowing. This is piece "I". Again, this is up to you, but I felt because the ring already had most of it cut out, the remaining space was not wide enough to need the windowing. Repeat the fusible instructions from above, minus the windowing step.
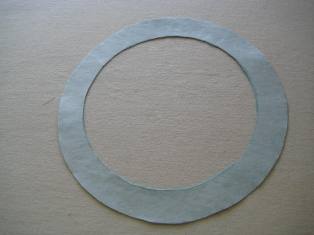
It's just about time to add your applique pieces to your background. Carefully peel off the remaining paper from your piece. Be extra careful when removing the paper from this piece because it is larger, all bias and very flexible. Handle the fabric gently and try to keep it flat.

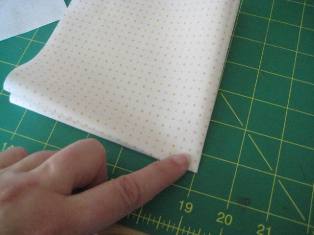
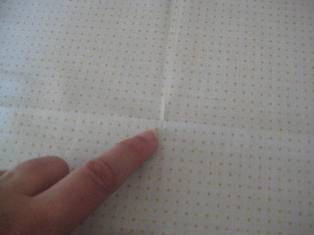
Prepare the block background. In this case, our pattern calls for a 9 3/4" square. Our design is centered in the block, so I found the center by folding it in half, then in half again and finger pressed the center.
Tip! I like to cut my background block slightly larger than the pattern calls for, and cut it down to size AFTER I've done all my appliqué stitching. Stitching can cause a slight pulling in of the background fabric, causing the block to shrink a bit. I cut this center block approx 11" square instead.
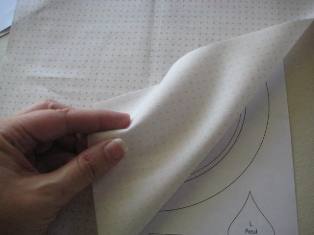
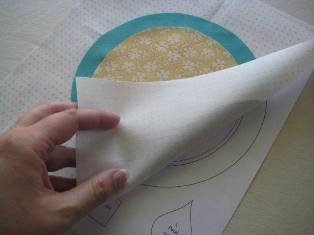
Our fabric is light enough in color to be able to see through to the pattern placement. Just lay the background right over the pattern to see the lines through the fabric. You can also use an Appliqué Pressing Sheet for this step (see below). For darker fabrics and more complicated layouts, I'll demonstrate other techniques for this step in a later segment.
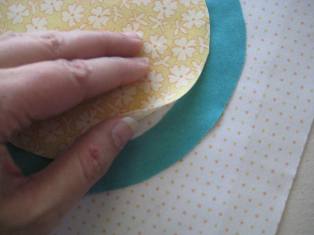
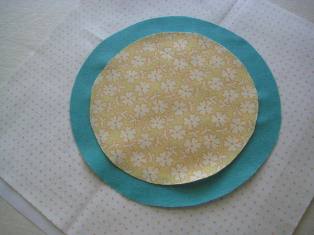
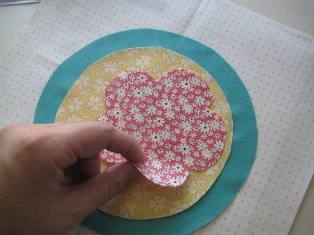
Gather all of the appliqué pieces needed for this block. In the photo below left, you can see the fusible windowed on the yellow flowered fabric. Lay each piece on the background fabric and arrange them until you are satisfied. Smooth out each piece completely before layering the next piece on top.
Oops! Not the right position for this flower! Because you're using Steam-A-Seam 2, you can continue to reposition as often as you like until you apply heat.
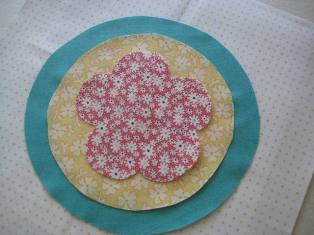
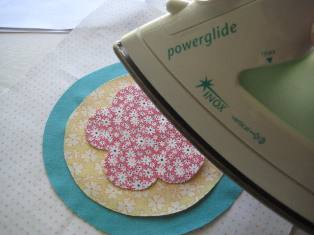
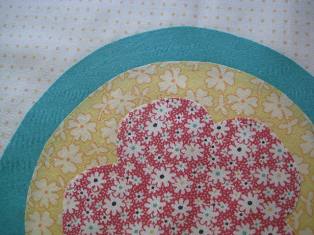
Once you're completely satisfied that all the pieces are in place, press. Follow the pressing instructions on your fusible product...they do vary.
Tip! You can also press each piece before adding the next layer, if you prefer. It's up to you!
Smaller pieces - no windowing. Remember that windowing your pieces is a personal choice. Smaller pieces, like this leaf, would be a challenge to cut out the center fusible. In this case, I would recommend leaving all the fusible on the piece.
Product Demo - The Appliqué Pressing Sheet. This silicon pressing sheet has many uses, but my favorite is for layering my fusible appliqué pieces before applying them to the background block. Here's my video demo:
&nbs


