
Applique - Turned Edge Prep
by Karen Johnson
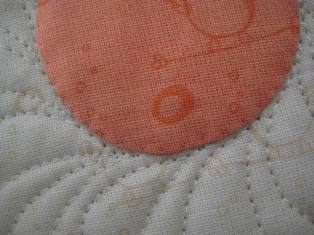
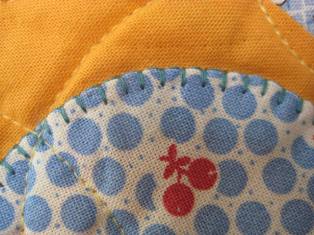
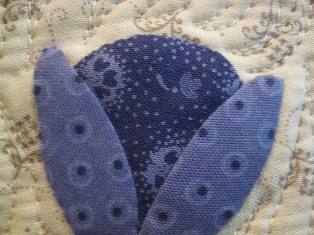
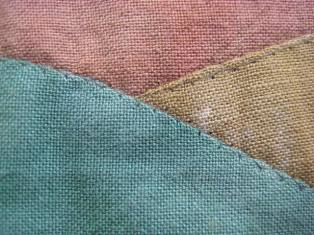
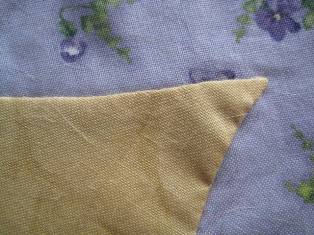
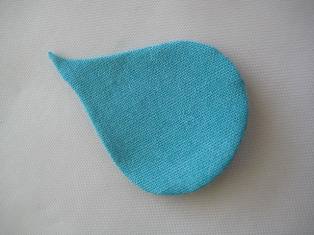
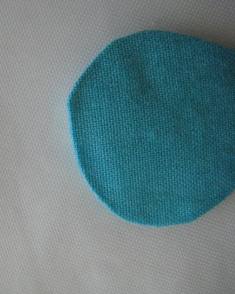
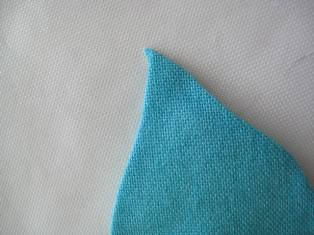
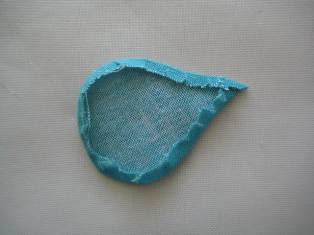
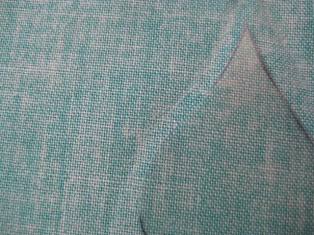
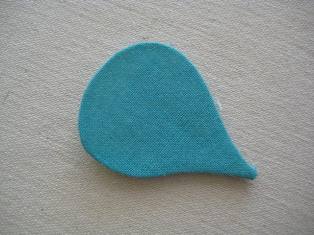
Why Turned Edge appliqué? There are so many choices when it comes to appliqué and they are all wonderful (in my humble opinion). It really depends on what look you want, how much time you have, and how you're going to use the finished project. Appliqué with a turned edge will take a bit more time than fusible or raggy, but will have a lovely finished look and will launder well. You can finish this edge in a variety of ways and I'll cover those options in another segment. Here are a few photos of turned edge from my Introduction to Appliqué segment.
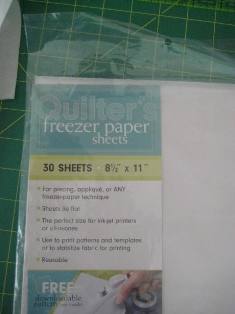
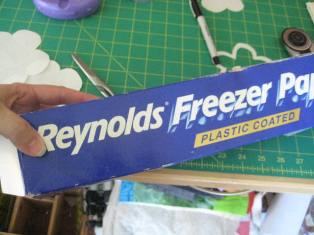
Freezer Paper. To start off, you'll need a template of each shape. I love freezer paper for this step! Yes, you can definitely use the roll of freezer paper from your grocery store, but I like the precut sheets because it's slightly heavier so the cut templates last longer when I use them over and over. The sheets can also be run through your home printer if you like so you don't have to trace if you don't want to, and the sheets lie flat (no curling!)
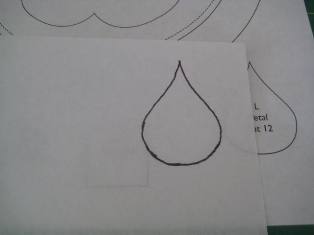
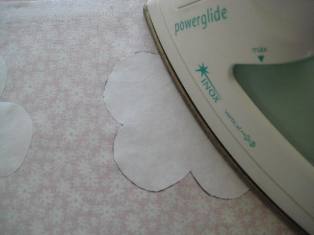
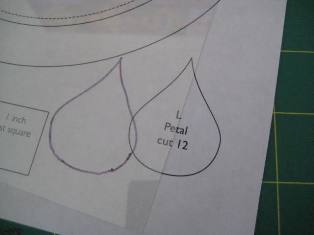
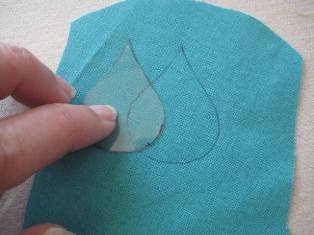
Cutting the templates. Trace your design and check your pattern to be sure the line you are tracing is the finished edge, not a seam allowance edge. You want your freezer paper template to be the exact size of your finished appliqué piece. You'll add the seam allowance later.
Tip! Our design today is not a directional piece, but if you have a design that has a right side, like letters, stop before you trace to consider which side of the pattern you should be tracing from. You'll want your tracing to be a reverse image if it has a specific direction like a letter.
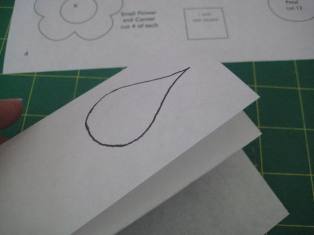
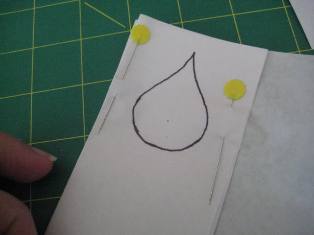
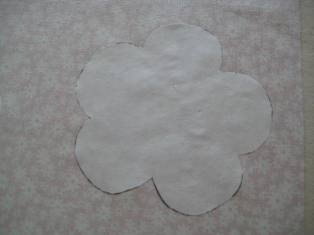
Some of the methods I'll show you require multiple templates. For example, if your design has many leaves, you'll need as many templates as you have leaves, especially for the glue stick method and Vicki's favorite. To make multiple freezer paper templates fast, layer as many pieces as you can cut accurately. I find 4-5 to be ideal. More than that and I find some of the layers are not as accurate. Pin the layers together to keep them from slipping and cut.
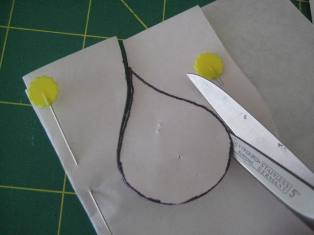
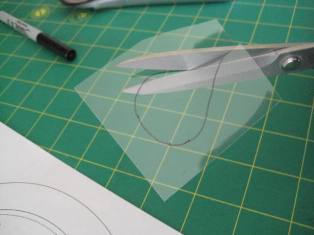
Try to be smooth and accurate when cutting the templates. The more perfect your template shape, the more perfect your finished fabric piece.
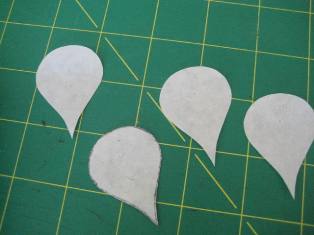
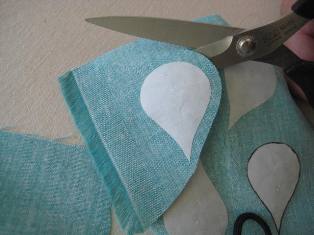
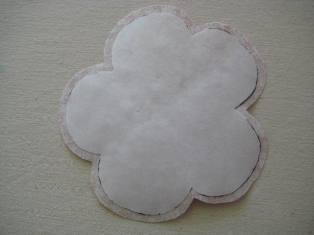
Place the freezer paper templates shiny/waxy side down on the wrong side of the fabric (unless you are doing Vicki's favorite. See her video below before cutting. Keep the pieces far enough apart to allow for a 1/4" seam allowance on each piece. Cut each piece with a 1/4" seam allowance all around.

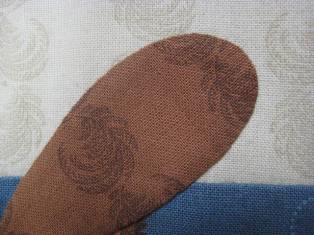
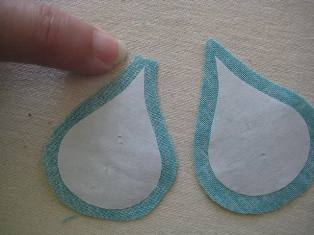
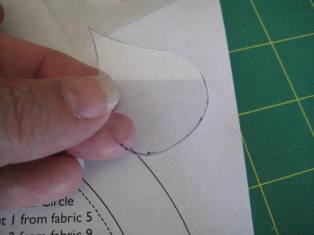
If you have sharp tips, like these leaves, trim off a bit, just past the tip, to reduce bulk. Clip curves using sharp tipped scissors.
Vicki's Favorite. Now that you have your freezer paper templates cut out, you have many techniques to choose from for turning the edge. Awhile back, our friend, Vicki Bellino, came for a visit and showed us her favorite method. This video, called Applique Tutorial - Freezer Paper Technique, will include her favorite method for stitching as well, but I'll cover stitching in a later segment.
Freezer paper and glue stick. Another way to turn the edges under is with a glue stick. There are pros and cons to this method.
Pro: It's fast and easy and you get a beautiful turned edge. Because the freezer paper stays in the piece when you stitch, you have a great stitching edge.
Con: It's a little messy because you will get glue on your fingers, but it washes off easily. Because the freezer paper stays in the piece when you stitch, you have an extra step when you're finished stitching. As Vicki showed you in the video, you have to cut out the back of your piece to pull out the paper. Because there is glue in there, it sometimes takes an extra tug to get that paper out.
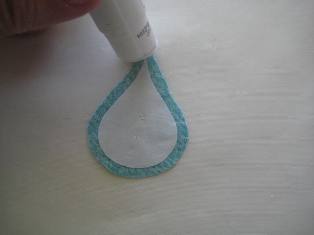
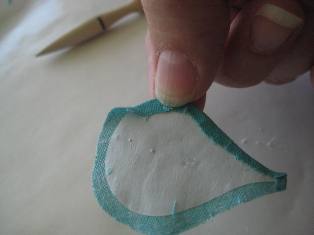
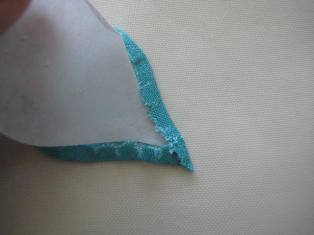
Work on a surface that can be cleaned later, because the glue will land on the surface. I like to use a piece of freezer paper, with shiny/waxy side down. That keeps the paper from slipping and I can just toss the gluey paper when I'm done. Start at the tip and glue down the fabric over the paper tip. Be careful not to crease the fabric.
Tip! If you are working in a warm room, the glue stick can get tacky. If this happens, take a little break and put the glue stick in the fridge for a bit.
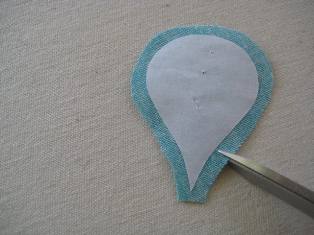
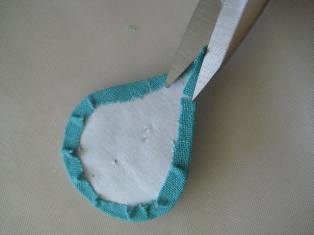
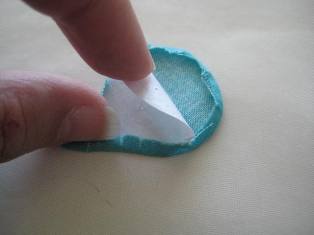
Continue gluing around the entire edge. Too keep from damaging the freezer paper, I touch the glue stick to the paper first, and work my way out. You can use a bamboo stick to turn the edges, but I prefer the control I can get by using my fingers.
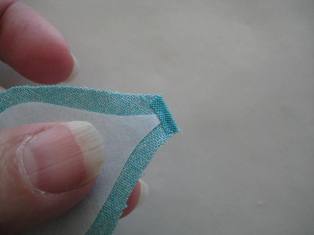
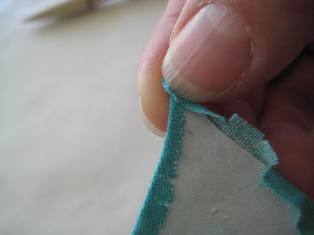
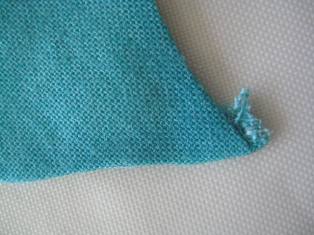
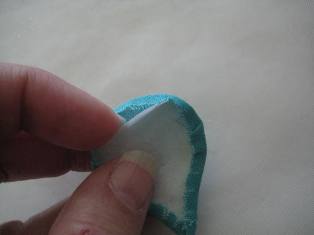
At the tip, turn one side down and work your way around to the other side of the tip. When you're ready to finish covering the tip, I like to press my fingernail over the template and over the previously turned tip, to make a sharp edge (my fingernail) to turn that final piece. You may find there is excess fabric here that causes it to be bulky. Carefully cut away some of the excess before covering that final section.


You may also have some excess fabric after the tip is covered. Again, you can cut away some of the excess, but do so carefully to ensure you still have enough fabric on the back side of the piece, so that no fraying can occur on the front of the piece.
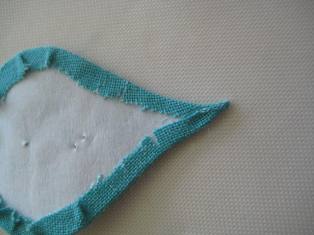
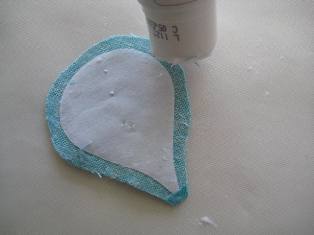
Done! Keep the freezer paper in the piece until after all of your stitching is complete. You can place this on your background fabric with either pins, basting or more glue stick. I'll demonstrate these options another segment later.
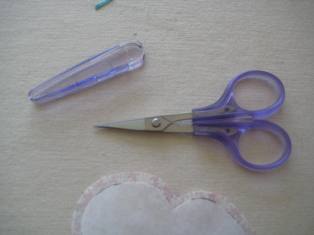
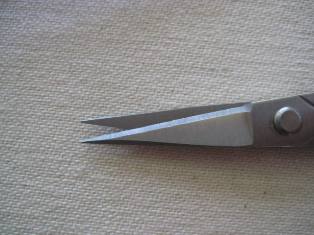
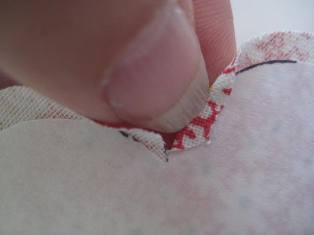
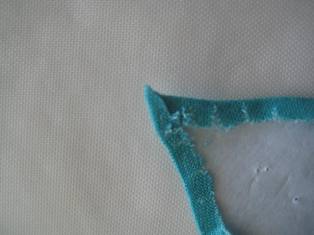
Freezer paper and glue stick, continued. You just saw a sharp point finished with the glue stick method. Here is the same method, but with an "innie". As shown before, using a freezer paper template, cut 1/4" seam allowance all around. For the next step, you'll need very sharp, very pointy scissors, like my favorite appliqué scissors.
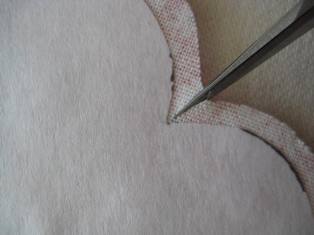
Carefully cut each "innie" very close to the template. I leave only two or three threads between the cut and the paper, as shown.
Using the glue stick, start at each "innie" and apply the glue from the inside tip out to the edge of the fabric. Using your finger or a bamboo stick, turn one side of the point under. Press firmly all the way to the edge of the cut you made.
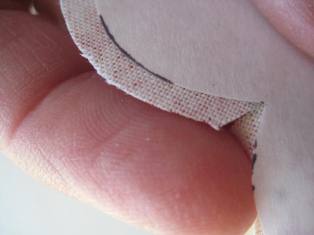
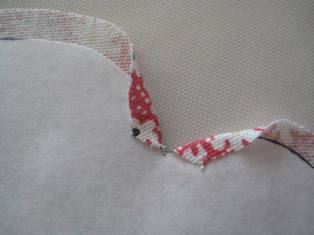
Repeat the process on the other side of the cut. On the back side you still see those couple of uncut threads, but on the front side, you have a clean turn with no fraying. This does take a little bit of practice to keep fraying threads from popping out.
My favorite method! Spray sizing with freezer paper. I actually alternate between freezer paper and mylar templates. Depending on the project, I might use both. Both I love using the spray sizing. You can purchase this at any supermarket. I've also had good luck using Mary Ellen's Best Press, available in quilt shops. Neither are a starch, so you don't get the white flakes that sometimes come with starch. You'll also need a mini iron to allow you more precision when pressing these small edges under.

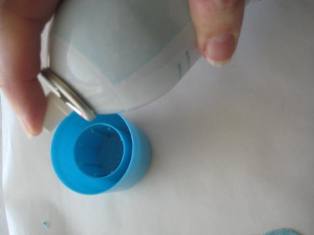
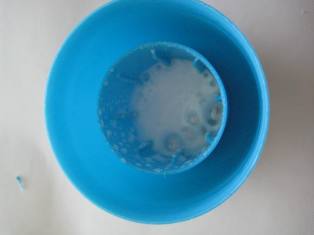
Begin by cutting out your freezer paper templates as shown above. Because the templates will get wet from the sizing, I don't usually try to reuse them. Instead I cut enough to complete my entire project. Remove the lid from the sizing and spray some sizing into the bottom of the lid, or some other small container. You don't need much.
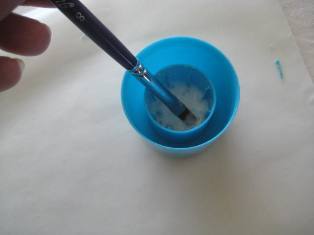
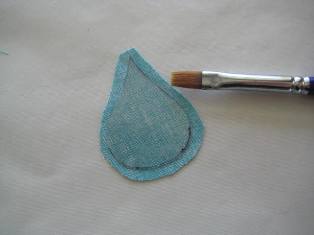
Using a small paint brush (Qtips work too!), get the brush wet with sizing and dab it around the edges of your appliqué piece. As shown in the glue stick example, start with any sharp points or "innies", then work your way around.
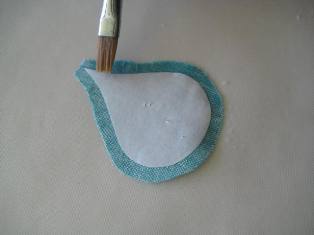
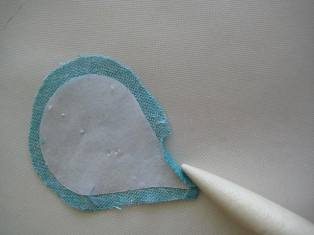
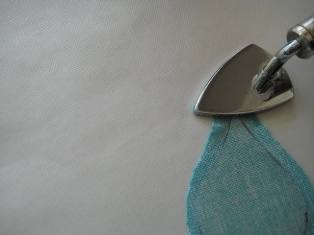
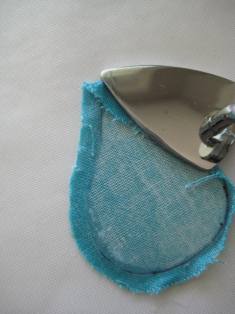
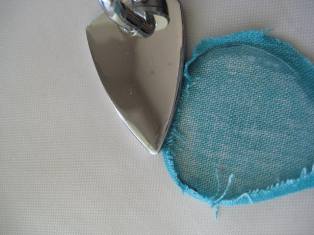
Using the mini iron and a bamboo stick (to protect your fingers from the hot iron), turn the edge of the point. A toothpick or chopstick also work well for this.

Continue to wet the edges and turning the edges with the mini iron. This is precise work, but you get a rhythm quickly.
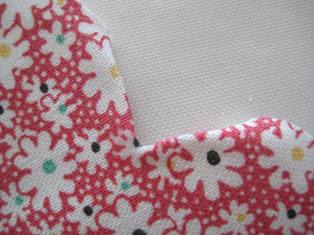
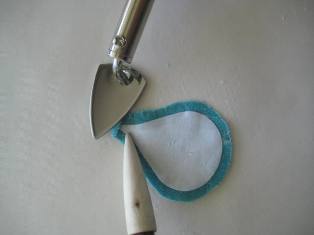
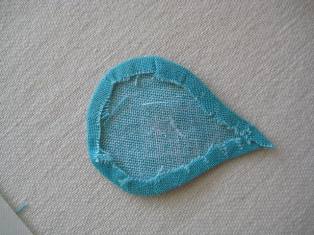
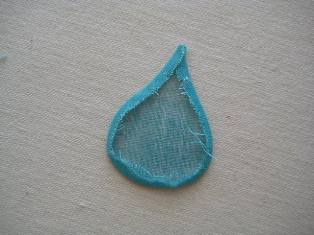
Turn the piece over to see if you made a smooth edge. You can see here that I have a couple of points where it should be smooth and rounded. Turn the piece over, re wet it if needed, and smooth it out. It's worth the extra effort to make it smooth now. I promise you'll be happier later.
Before:
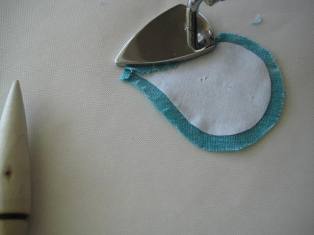
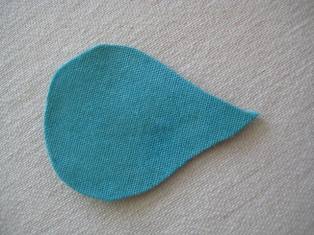
 After:
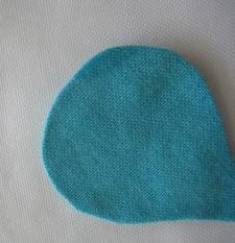
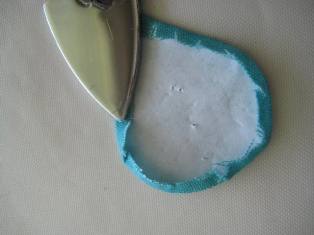
Trim any excess fabric from the tips, but do so very carefully to ensure you have enough fabric to completely cover the tip so nothing frays on the front side.
Now for my favorite part! After the piece has cooled, feel the piece to decide if you have enough sizing for it to hold it's shape. If not, spritz a little more and steam one last time. If it's secure, simply remove the freezer paper. When you have stitched this down in your completed project, there is no freezer paper to remove!
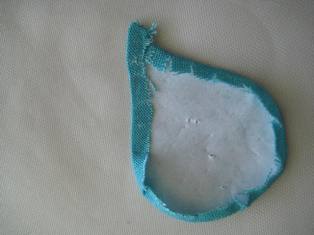
After the paper is removed, I like to give it a good steam iron and an overall spritz of sizing.
My other favorite! Spray sizing with mylar template plastic. This is pretty much the same process as the freezer paper. The difference is the mylar will last after repeated use. The pros and cons: It's a bit more challenging to cut a smooth mylar piece (freezer paper is faster and easier to cut), and if you want to work an assembly line, you'll need multiples of each mylar piece. It's up to you! I often do a combination of freezer paper and mylar. I especially like the mylar for creating sharp tips...it holds up well at that sharp corner when freezer paper can be bent.
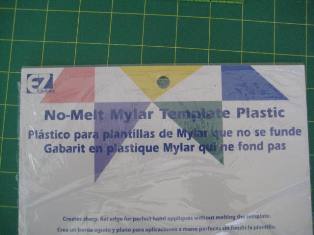
Trace the design onto the mylar template plastic. Most any pen will work. Carefully cut it out on the marked line.
Feel around the edge of your template to see if it is smooth. This is very important for good finished results! If you have a bump in the template, you'll have a bump in your finished appliqué. Use a nail file to smooth out any bumps.
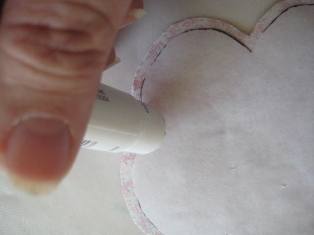
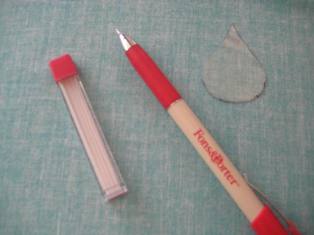
Now you'll mark your fabric to prepare for cutting. I used the Fons & Porter Mechanical pencil with white lead. The white lead works well on darker fabric, but you can also use graphite refills on lighter fabric. I know it's hard to see in my photo, but I could see it clearly for cutting. Any sharp tipped fabric marker will work. Trace 1/4" away from the template, directly onto the fabric.
Remove the template, cut the fabric out on the drawn line, trim the sharp tips as shown previously, then lay the template back on the piece. Following the steps I outlined above, use the spray sizing and brush it all around the edge, starting with the sharp tips and "innies".
Because these photos don't show the spray starch very well, I over exaggerated in one photo so you can see that it's wet. This is too much, but you can see better that it is indeed wet.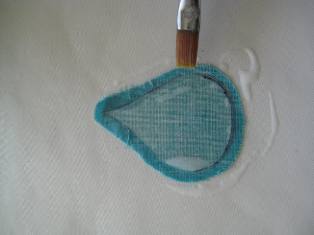
As in the previous section, double check the front side to be sure you have nice smooth edges.
When you're done and the piece is cooled, remove the template. I like to give the appliqué piece one more spray sizing spritz on the whole piece and press firmly with a hot steam iron.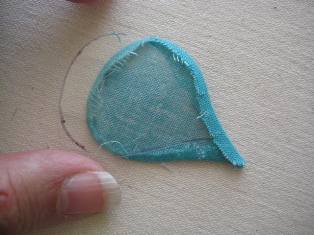
This piece is now ready for stitching. It can be pinned, glue or basted to your background fabric and I'll demo that in a future segment.
Needle turn prep Needle turn is one of the original, classic methods for appliqué. There is minimal prep and the stitching is all done by hand, making it a very portable method. As you can see by only two photos, it truly is minimal prep.
Using either freezer paper, cardboard or mylar templates, trace the design with a fine tipped fabric marker on the RIGHT side of your fabric. Note, this is different from all the other methods you've used so far. Cut the fabric with an extra 1/4" seam allowance all around.

That's it for the appliqué piece prep for needle turn! This is ready to


