
Stars - Flying Geese Variable Stars
by Karen Johnson
This tutorial we will focus on the Variable Star made from Flying Geese blocks.
We'll demonstrate two different methods for creating Flying Geese, using just basic quilting supplies: mat, ruler, rotary cutter and sewing machine.
Here's our first super simple method for making a Flying Geese block.
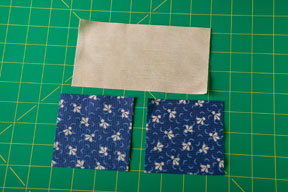
For one Flying Geese block, you'll need one light rectangle 5" x 2 3/4", and two 2 3/4" squares.
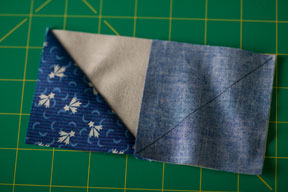
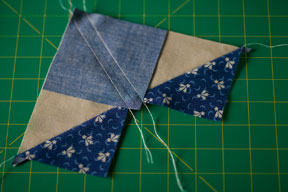
Lay one dark square on one side of the light rectangle, RST (right sides together). Stitch from corner to corner (draw the line first if you prefer).
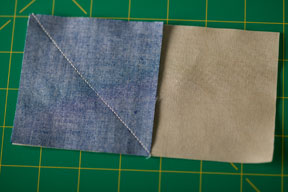
Trim off excess as shown, leaving 1/4" seam allowance.
Press the seam to the dark fabric. If you're a newbie, check out our two minute Pressing Tip Video.
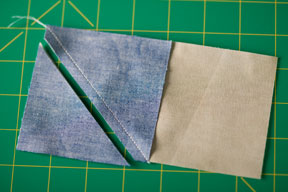
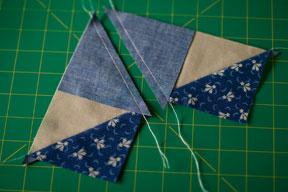
Now place the second dark square on the opposite side of the rectangle, RST. Note the new square will slightly overlap the previous piece - that's okay! Mark your diagonal line if desired and stitch on the line.
Trim off excess as shown, leaving a 1/4" seam allowance.
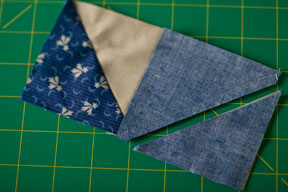
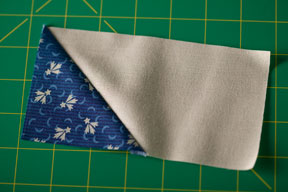
Press the seam allowance towards the dark fabric and you're done with one flying geese unit! Scroll down to see how to finish your variable star block.
Now for our favorite quick method that yields 4 flying geese blocks with no waste!
Start with the light fabric. Determine what size you want your finished flying geese unit and add 1 1/4". We are making a 9" finished variable star, so we want a 4 1/2" finished flying geese unit. 4 1/2" + 1 1/4" = 5 3/4" square of the light fabric. Cut one of these to yield 4 flying geese units.
Now the dark fabric. Determine the finished height of your flying geese unit and add 7/8". Our finished height is 2 1/4", so 2 1/4" + 7/8" = 3 1/8" squares. Cut four of these to yield four flying geese units.
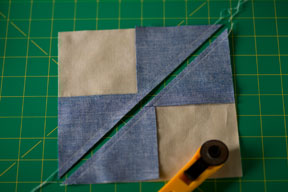
Draw a diagonal line on the wrong side of all of four dark squares. Lay two of the dark squares RST on the larger light square, as shown. Note, the dark squares will overlap slightly in the middle.
Stitch 1/4" away from the marked line, through all the layers, as shown. Repeat on both sides of the marked line.
Cut on the marked line and you'll have two units.
Press the seam allowance to the darker fabric. Repeat for both units.
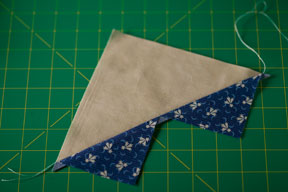
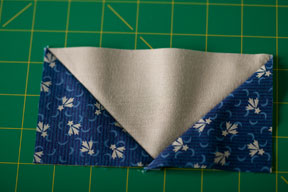
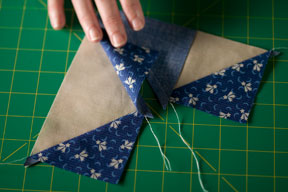
Set one unit aside for a moment. Lay one of your remaining squares RST on one unit. Note how it is lined up on the light fabric corner and will hang over slightly on the side with the dark triangles. Stitch 1/4" away from the marked line. Repeat on both sides of the marked line.
Cut on the marked line.
See the flying geese peaking out?!!!
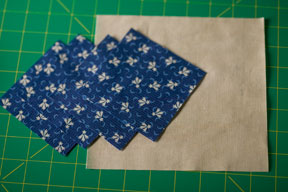
Press the seam allowance to the darker fabric and you'll have 2 finished Flying Geese blocks.
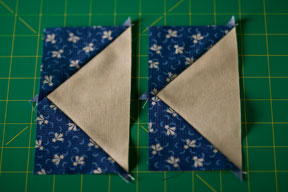
Repeat with the other unit that you set aside and you'll have 4 Flying Geese blocks!
The Variable Star block.
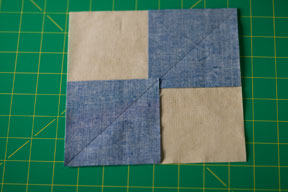
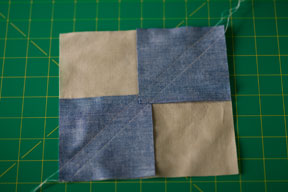
For a 9" finished variable star, you'll need to make 4 flying geese blocks, 4 corner blocks 2 3/4" square, and 1 center block 5" square. Lay out all the components to be sure you like the color arrangement.
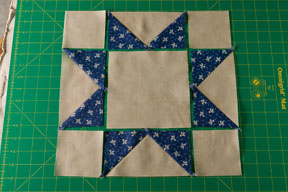
Stitch all 9 sections together and voila!!!


