
Freezer Paper Piecing - overview
by Karen Johnson
Freezer Paper Foundation Piecing Overview - This technique uses the same numbered pattern that you might use in Paper Piecing, but you don't stitch through the paper. Instead, you pre-cut the freezer paper templates, press them onto the fabric, cut the shape out, adding extra for seam allowance. Then you use the freezer paper as a stitching guide to create those sharp points. When the block is done, the freezer paper pulls off easily because it has not been stitched through.
Pros
- No ripping out paper from the back of your block.
- Simple to learn, no complex rules.
Cons
- This method takes much more prep time because of all the pre-cutting of the freezer paper.
- Because you're not stitching directly on a line, you won't have quite the same level of sharp accuracy as in regular paper piecing.
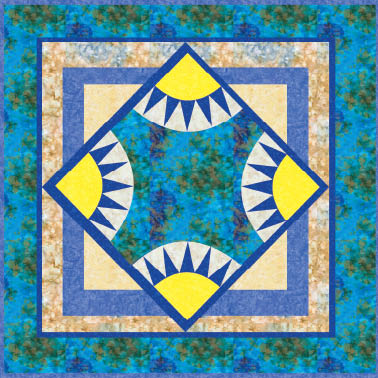
Bonus! A free pattern Our Sunny Skies quilt is a hearty 54 1/2" square and is intended as a challenging project. After you master the Freezer Paper Foundation Piecing method, then you move on to curved piecing to complete the center section. If you're looking for something for beginners, don't miss our beginner Free Paper Pieced Bibs pattern.
Here we go! Start off by transferring your pattern template onto freezer paper. The easiest way is to use Quilter's Freezer Paper Sheets because you can run them through your inkjet printer. If you use the roll of paper from the grocery store, you'll have to trace. Use a ruler to keep your lines straight and trace carefully. Cut each template out on the solid lines. Do not include seam allowance on the templates. Mark the pieces with the pattern numbers or letters, and make note of any special instructions like where to place edges along a grain line.
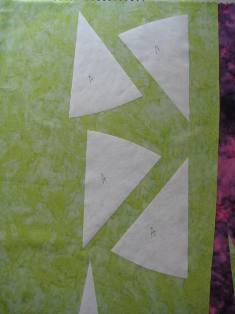
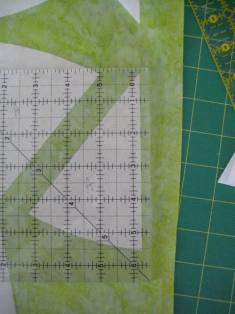
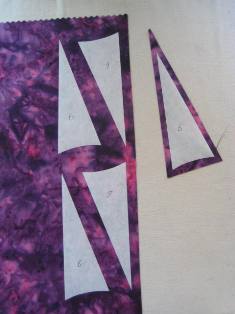
Next, press each freezer paper template shiny side down onto the wrong side of your fabric. Lay the pieces out with enough space between them to allow 1/4" seam allowance on each piece. Using a ruler and rotary cutter, cut each piece with an added 1/4" seam allowance all the way around.
Lay the pieces out to create your design and to ensure you know what goes where.

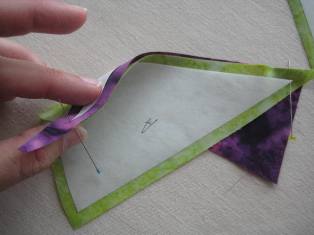
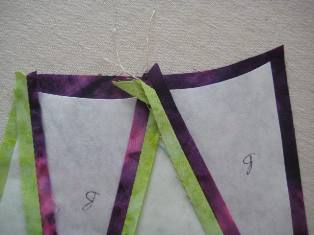
Carefully pin two units together, poking the pin through a point of one piece, and matching it up to the point on the second piece.
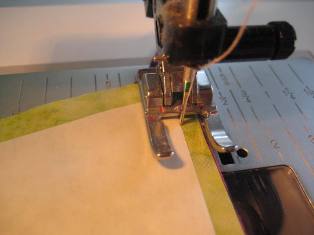
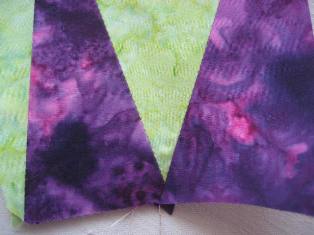
Stitch the seam, working slowly and carefully to avoid stitching on the paper. Stitch very closely along the edge of the paper. In the photo on the right, you can see how close the finished stitching is.
Press seams open, but keep the paper in place.
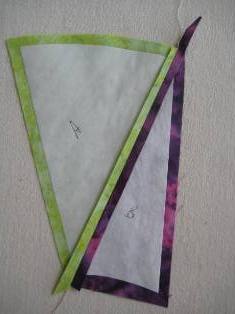
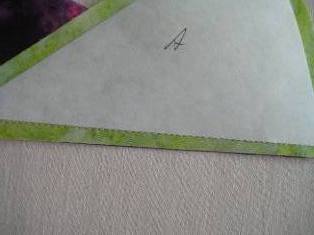
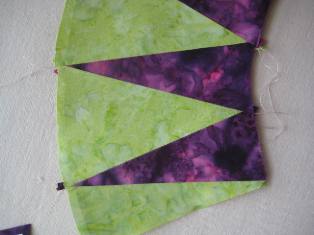
Continue adding pieces in this same manner, matching points, stitching along the edge of the paper, pressing seams open. The photos below show you what it will look like as it grows, from the front and from the back.
When you're done, simply peel off the freezer paper! If you're making our Free Sunny Skies pattern, you can find a quick video on curved piecing here.


